So, you want to start podcasting? Good for you!
Podcasting is fun, it’s a great way to build an audience, and it’s far from being a saturated market.
It can also be very expensive – if you go all in and buy all the best equipment that you may believe you need. But, with a bit of technical knowledge, you can get started on a limited budget. In this article, I will show you how to build your own podcasting setup and I will give you examples of setups below 100 Dollars for solo podcasters.
I’ve already done two podcasts – the first one failed miserably, with the second one I managed to get to over 40 episodes. And yes, you might have guessed it, the second podcast I’m talking about is Marketing in Minutes – which I’m still planning to reactivate one day. Here is a sample episode:
Before you read on - we have various resources that show you exactly how to use social networks to gain massive traffic and leads. For instance, check out the following:
FREE Step-by-Step Twitter Marketing GuideFREE Pinterest Marketing Ebook
I didn’t post this example to brag – but if you give it a short listen, you should hear what kind of quality you can achieve with the setup examples that I will give you in this article. No, it’s not the greatest sounding podcast – it’s recorded on a budget setup that comes under $100 – and if you go for used kit, you can go much lower on a similar budget.
Disclaimer: Some of the links in this article are affiliate links. We may receive commissions when you click our links and make purchases. However, this does not impact our recommendations, reviews, and comparisons. We try our best to keep things fair and balanced, in order to help you make the best choice for you.
Why it is important to talk about the podcasting setup
With my first podcast, I went the cheapest route possible: I recorded on a gaming headset that I already had.
Shouldn’t have done that. I won’t give you an example of what it sounded like – frankly because I am ashamed of it today.
The quality of this first podcast compared to the quality of Marketing in Minutes is night and day. But the difference in the budget needed is not that big of a deal. A gaming headset with a halfway decent microphone will cost you around $50. My setup will give you much better quality at only a slightly higher cost.
But, to achieve better quality, you need to learn a bit about the technology you are about to use.
I will teach you what you need to know about the tech involved in this article, compare a few technology choices that you have, and give you a podcasting setup on a budget that you can work with.
Below we will go over all areas of technology involved: Software, Microphone, Audio Interface/Mixer, Headphones, Stands and Cables (and all the small things).
Hey, before you read on - we have in various FREE in-depth guides on similar topics that you can download. For this post, check out:
FREE workbook: CREATE AWESOME BLOG POSTSFREE Beginner's Guide: START A BLOG
I will not talk about the computer needed as I will assume you already have one. Both Macs and PCs will work well. I’ve tried both.
Before we go into that I quickly need to talk about the different types of podcasts that are possible.
So, let’s get started…
Types of Podcasts
There are three different types of podcasts that you can do – at least for the sake of this article. They have minor differences in the setup you need and in how you edit them, which is why you need to understand what they are.
The one person (storytelling) podcast – podcasting on your own
I call this one the storytelling podcast – although it is not always about telling a story. This is essentially a one-person show – but you can edit in other audio snippets, music, sound effects, etc.
I count this as the pinnacle of podcasting – a one-person show needs to be scripted, you need to learn about storytelling and you need to perform the audio the best. A good one-person show can pull you in and leave you wanting more, a bad one will bore you to death.
The good news is, that a podcasting setup for this type of show is cheap.
The one host interview show – podcasting with a guest
This has been the easiest way to start podcasting for many – as this show doesn’t require scripting as much as the first one. You are the host, and you interview someone in each episode (usually via skype).
This type of show is great if you have great interview partners and are well able to perform interesting interviews. But it has been done by many already and it’s a crowded niche.
From a recording standpoint, this is slightly different than the one person storytelling podcast because you need a way to record your interview partner’s audio as well. You can do that via a second computer or you can record everything directly from one computer, but the setup can be a bit complicated. The easiest solution is to use one computer feeding your voice into your software and using a second computer to record your skype interview. The combine the two via software.
The multi-host talkshow – podcasting with others
This is when you have more than one host performing in each episode. Usually, this means that it takes the form of a talk show where you discuss your topics together.
You can also add guests to your show, and have different segments following a script.
This is more complicated when recording because you need a microphone and headphones for every participant. This is also slightly more difficult when editing because you need to edit all tracks together. On the upside, these types of shows can be great – and they require less scripting then a great one-person show.
Isn’t there a simple all-in-one solution for the kit?
The answer here is maybe. If you want to be a solo podcaster, then there are microphones that come with a built-in USB interface.
You can start out this way, but – you won’t learn as much, once you grow as a podcaster, you will need a completely new kit and you will start learning a lot from scratch, and you will still need to learn the recording software. Also, this type of kit is only relevant when you are podcasting on your own.
But you can still record a decent podcast with these options. Stay away from condenser microphones like the Blue Yeti though – these are good for video streamers who are after less good quality but need more distance between their mouth and the microphone.
Here are two recommendations:
Samson Q2U (around $60):
This is a decent dynamic microphone (see below why this is good) which has a built in USB interface AND also an XLR connection (which means you can connect it to a different Audio Interface if you decide to upgrade to one).
Audio Technica ATR 2100 (around $80):
Same as the Samson – decent dynamic microphone with both USB and XLR. Which one you prefer is really up to you.
Recording Software suitable for Podcasting
The more you will get into podcasting, the more you will notice how important the recording software is. You are going to use essentially the same type of software that pro musicians use to make music. This type of software is called a Digital Audio Workstation – or in short DAW.
There are many DAWs available – but luckily, for podcasting, you don’t have so many special requirements. And you don’t need to become an audio pro to record and edit a podcast that sounds decent.
A DAW is audio editing software that allows you to record audio tracks separately or at once, modify those audio tracks and edit and arrange the tracks. All your audio editing from start to finish should be done in your DAW. But luckily, although you are using a highly sophisticated piece of software, you don’t have huge requirements in terms of specs. Free software will do.
Here are the requirements for your DAW:
- Plugin support (this will allow you to make voices sound great – and have a choice from a massive amount of free plugins)
- Non-linear editing (This means that any edit you make can be undone at any time without affecting other edits)
In terms of audio software, these aren’t huge requirements. But it is really all you need.
There are a few recommendations out there that are massively out of date – and I want to warn you about them – the following software kits were great when they came out, but today the fall short and won’t allow you to achieve great quality without massive effort:
- Audacity: Limited plugin support, non-linear editing not supported
- Garageband: Limited plugin support
- Pro Tools First: Limited plugin support
- Studio One Free: Limited plugin support
Now, with these out of the way, here are my recommendations.
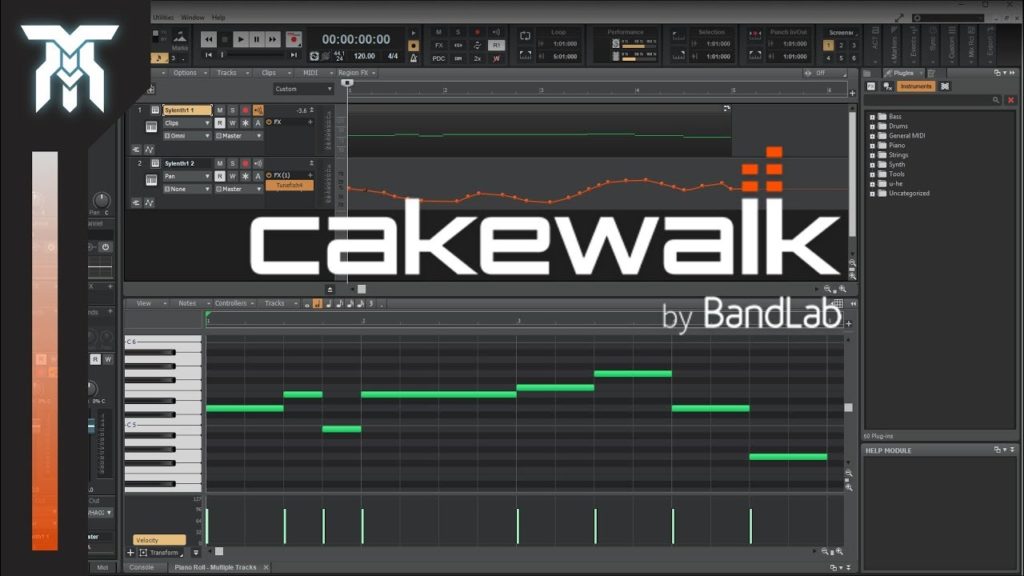
Cakewalk by Bandlab (FREE, Windows only)
Cakewalk used to be expensive software – until Bandlab acquired it and released it for free. If this was available on Mac and Linux, this would be the one-stop solution I would recommend. You have all the features you need with many features that are nice to have. You can use every free plugin on the planet and you can edit like a pro in a great user interface.
Highly recommended. It’s also what I use.
Tracktion T7 (Free, Windows, Mac & Linux)
Tracktion releases it’s software from two versions back for free for anyone, which means that if you don’t need the latest and greatest features, you get what you need for free. As a podcaster, this is more then enough for you to get started with any type of show.

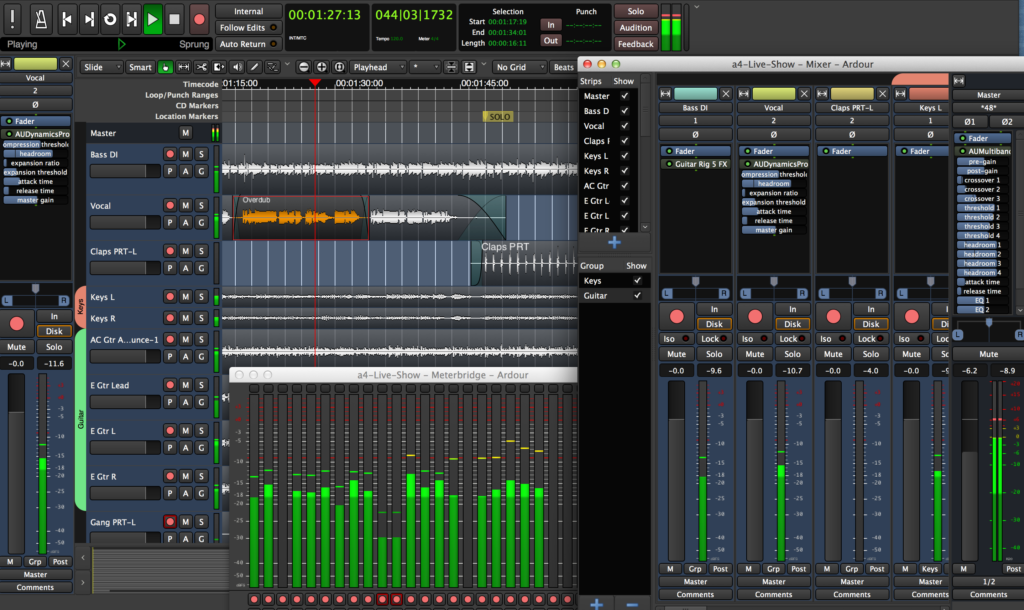
Ardour (Almost free, Windows, Mac & Linux)
Ardour is open source software, but if you want to download a prebuilt version, you have to pay a small fee. Like a Dollar.
It’s pro software and decent for doing podcasts, but as with anything open source, it needs you to conquer a learning curve. Also, while plugin support is there, the included plugins won’t get you that far. It just means you need to use other free plugins.
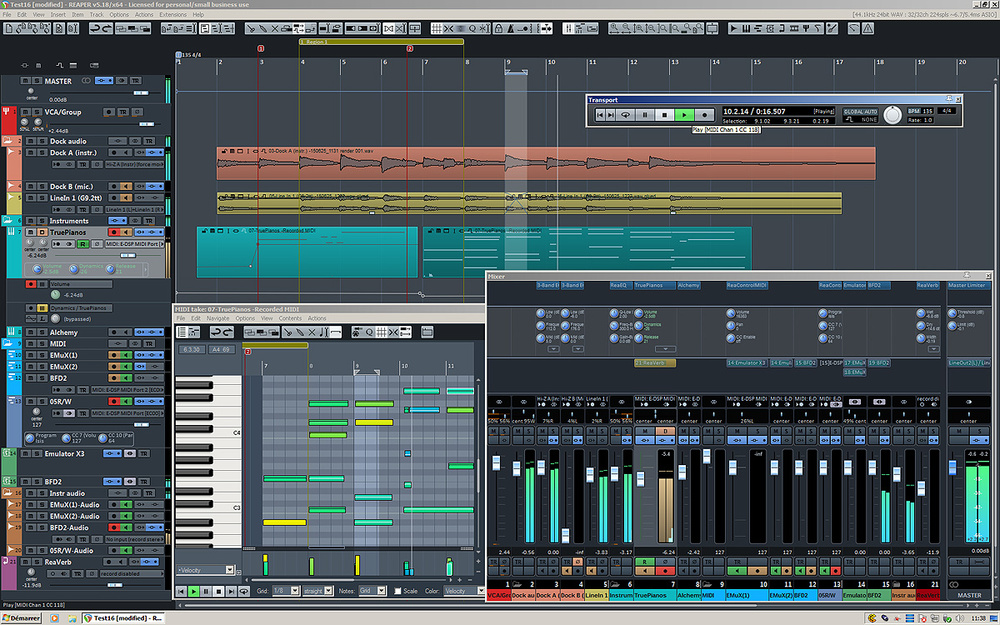
Reaper ($60, Windows, Mac, Linux)
If you’re willing to pay a little, but not much, Reaper is a good way to go. It costs $60 – but you get a piece of software that works on multiple platforms, is absolutely pro level, and has an extremely good set of plugins included. It rivals Cakewalk – and surpasses it in some areas. Reaper can be had for free for 60 days, but then they require you to upgrade to the paid license. (Although Reaper will keep working after 60 days – you should still upgrade at one point if you go this route.)
The plugins that Reaper comes with can also be had for free on their own, but only on Windows – on Mac, you have to get Reaper for them.
Free recommended plugins:
– Sonic Anomaly Trileveler 2 – this will help you level your voice to broadcast standards with a few simple clicks and settings. Sadly, the website of the developer is down, but you can download the plugin for Windows here and the Mac version here.
– Reaper plugins for Windows: This is a great set of plugins, but only available free on Windows. For Mac, you’ll have to get Reaper to use these.
There are literally 1000s of free plugins – with time, you’ll have your own favorites. But the above are a good place to start.
For setting up and using your software, you can follow a tutorial like this one – it uses Reaper, but I’ve used the same tutorial to set up Cakewalk.
Microphones
Microphones are how audio get’s into your computer and into your DAW. As such, a decent quality microphone is important. But that doesn’t mean it needs to be expensive.
First, you need to understand that there are two types of Microphones:
- Dynamic Microphones: These are great for podcasters – they pick up very little room noise, there are cheap options available and they sound good enough to create a great sounding podcast. You want a dynamic microphone for your first podcast.
- Condenser Microphones: These only work well in studios – you can get a decent one for relatively cheap, but then you need to work on sound-proofing your recording area. Don’t get one.
Now, let’s get into some recommendations for cheap podcasting microphones.
Behringer XM 8500 (around $20)
If you are starting out, this is your weapon of choice for the microphone. It can be had for relatively cheap, it performs well, it sounds decent, and it doesn’t have many quirks. It’s what I use and I’m very happy with it. The difference between a 10 Dollar Condenser Mic and this one is much bigger then the difference between this mic and a 400 Dollar “pro mic.”
Alternatives:
I’m a little hard-pressed to recommend anything else for a podcast on a budget, but if you don’t like the Behringer XM 8500 for whatever reason, then here are some alternatives:
Samson Q6: Cheap, decent, similar in looks to the Behringer. Probably the closest competitor. Costs about double as much, which is still a pretty good price. If you need more then one, you can get it in packs of three.
Shure SM58: Can’t leave this one out. This one is a step above the other options – both in price and in quality. I don’t recommend these for a beginner as I find it pretty good to start with decent but not great kit, but many people swear by these. $100 on Amazon.
If you want to spend a lot of money, you sure as hell can. Pro podcasters usually use one of the following three microphones: Heil PR-40, Shure SM7b, Rode Procaster.
These are all great broadcasting and podcasting microphones that cost anywhere between $200 and $400 – but when you’re starting out, you don’t need them. When you’re getting your first setup, you need to learn to produce a decent sound with a cheap mic before you get fancy with microphones.
Audio Interfaces/Mixers
You cannot record a good podcast with your built-in soundcard – for two reasons:
- The latency will be too much – which means when you are monitoring your input via headphones, you will have a slight delay on your headphones which is annoying and makes recording a decent podcast impossible.
- You won’t be able to connect a decent microphone to your sound card – because for that you need an XLR connection.
An audio interface is basically a sound card that you connect to your computer via USB and feed your Microphones in via an XLR cable (which is just a professional microphone connection cable).
A mixer is a tool that allows you to mix several audio sources together and put out a stereo mix.
There are good cheap mixers out there that come with a built-in Audio Interface.
What you need is an Interface that provides the number of XLR inputs and audio channels that you need for your podcast. You don’t have special requirements, as you are not a musician.
The recommendations here are grouped by use case – solo podcaster, interview show, talk show.
Behringer U-Phoria UM2: The solution for the solo podcaster.
This is probably the cheapest audio interface you can get – one XLR input, two audio channels. If that is all you need, you’re all set for 50 Dollars. If you need to record just one Microphone, this is all you need. And you can even get it in a bundle with decent monitoring headphones and cables for around 65 Dollars.
Alternatives: Price increases quickly with just slightly more features when we’re talking about Audio interfaces. Your best option for a cheap deal is to look at the used market on eBay – but be careful and check whether the awesome deal for a great 8 channel interface you found isn’t for one with completely out of date drivers that don’t work on modern computers.
Behringer Xenyx Q502 USB: The Solution for the Interview podcaster
This is a small mixer with a built-in two-channel USB interface. Nothing fancy, but it gives you more options to record your interview partner – for instance by feeding that audio in from a second computer. It costs slightly less then 80 dollars right now.
Alternatives: There are some slightly cheaper options out there that accomplish the same thing – check out this PYLE Mixer with USB interface and even two XLR inputs for $60. I don’t have experience with it, but the reviews are good.
Behringer UMC404HD: Planning a talk show with up to 4 people? Here you go.
If you need to record more then 2 people, then this is where podcasting becomes expensive. This relatively cheap interface gives you 4 mic inputs and channels. It costs around $180 and will do the trick, but you will also need 4 cables and mics. Costs add up.
Alternatives: If you only need 2 inputs, the Behringer UMC202 only costs around 120. It’s the same thing with fewer inputs. You can also spend a hell of a lot of money on audio interfaces – but the additional gain you get as a budget-conscious podcaster is minimal. If you want a 4-track recorder, that doubles as an audio interface, you can get a Zoom H4n – which will allow you to separate editing and only bringing in your audio into the DAW once you start editing and already finished recording.
Headphones:
You need headphones for monitoring. That means listening to your recording while you are recording. This will lead to much better recordings. Just believe me on this.
You will also need your headphones for editing your podcast.
Pros will tell you that you need two pairs of headphones. You don’t – unless you are recording in a soundproof room and want to get the absolute max in sound quality.
There are two types of headphones you can use: Open and closed. Traditional wisdom tells us to use closed headphones for monitoring (because the sound is not coming out on the outside of the headphones and therefore doesn’t bleed into the microphone again). And to use open headphones as editing headphones because the sound is better.
My recommendation: Get decent but cheap open headphones. Using a dynamic mic will prevent that you have bleed into the microphone and your home recording studio is probably not a soundproof room anyway.
Here is what I am using and what I’m really happy with:
Samson SR 850 ($45)
These are highly regarded as the best cheap open-back headphones for editing and mixing, and I’m very happy with them. Not much more to say.
Alternatives: If you want to stay safe and get closed-back headphones, then look at the OneOdio Pro-10. Which are also even cheaper at around $30.
Other Stuff – Cables, Stands
You will need one XLR cable per microphone. Don’t get fancy – get cheap ones, they will do. Like these.
You want a microphone stand for every microphone. There are fancy things like shock mounts, but they are not a requirement. A simple desk stand will do – just don’t touch your table or mic while recording. Take a look at this cheap one.
Here are your example setups for every category mentioned above
We’ve gone through the parts, now let’s check how much you pay for a complete setup per category.
Example One: Solo podcasting setup on a budget
This is a basic setup – just one recording person makes things really cheap. Here is what you need:
1 Mic: Behringer XM8500, $20
1 Audio Interface (includes cable and headphones): Behringer U-Phoria UM2 Kit, $65
One Mic stand – $9
Yes, I opted for the kit mentioned above – the headphones should easily be good enough for creating a great sounding podcast. And I wanted to keep things simple.
With this setup you can start podcasting on the cheap and still produce a decent sound. For less then $100.
Example Two: The Interview podcasting setup on a budget.
Here things get slightly more complicated – maybe you want to have the option to either connect a guest via skype or have him in your home with his own microphone. That means you need to go for versatility. Which means you need two mics and could work better with a mixer.
If you want the cheapest solution that means the following setup:
2 Microphones, Behringer XM8500, $40
Mixer with USB interface: Pyle 4 Channel USB mixer, $60
2 Samson SR 850 Headphones, $90
2 XLR cables and desk stands: $40
All in all, this will cost you around $230. If you are sure will always record your guest via skype, you can leave out the second mic, cable, stand, and headphones and save $80.
Example Three: Talk show podcasting with 4 hosts.
Ok, here we go – this will cost a bit more.
4-Channel Audio interface with 4 inputs – Behringer UMD404HD – $180
4 Microphones Behringer XM8500 – 80
4 Headphones One Odio Pro 10 – $100
Cables, Stands – $80 – $100
Calculate some extra cash for needs you didn’t even know you had.
All in all a setup like this will cost you at least $500. Sorry, but podcasting with many hosts doesn’t come cheap.
Final words
This article is a beast – getting together a decent podcasting setup on a minimal budget isn’t easy. But it is possible. You can save a little cash on the Audio Interface by going for the used market – good deals on some recent interfaces can often be found (and give you a decent audio interface of mixer for 20 – 40 Dollars).
I hope you enjoyed this article – let me know what you think!