The following is a guest post by Diana Beyer. Diana Beyer is experienced and self-driven media expert who is passionate about writing. Her purpose is to share values amid those interested. She is always seeking to discover new ways for personal and professional growth. Connect with Diana through Twitter.
We all know that images are an essential part of any blog or social media post. Besides the fact that they might be mandatory in some formats, they also make your post more engaging and attractive, as people tend to look at the image first and then decide if they will read your headline (and what else comes after it).
Images also build an emotional connection between bloggers and their target audience, activating a part of the brain linked to feelings and memories – and here are some stats for you about it:
- You might lose 94% of your views due to bad images only;
- Great images can increase your blog and social media’s traffic by 12%;
- Facebook posts with images receive 100% more comments, 60% more likes, and increase their engagement rate by 93%;
- 60% of people interviewed in a study said that the quality of the images was a key factor in their decision to buy (or not) a product or service.
But how to create killer images that will blow your visitor’s mind and improve your customer experience? Discover how by following our tips below:
Before you read on - we have various resources that show you exactly how to use social networks to gain massive traffic and leads. For instance, check out the following:
FREE Step-by-Step Twitter Marketing GuideFREE Pinterest Marketing Ebook
YOUR TOOLKIT
The first thing that you will need to create killer images is the obvious one: the images themselves. And there are three ways that you can do it: getting them for free, paying for them, or creating them yourself.
1. Getting images for free

There are plenty of online sources where you can find great images for free. And all that you will need to do is to search for it on their library and download your favourites. Here are some options for you:
- MorgueFile
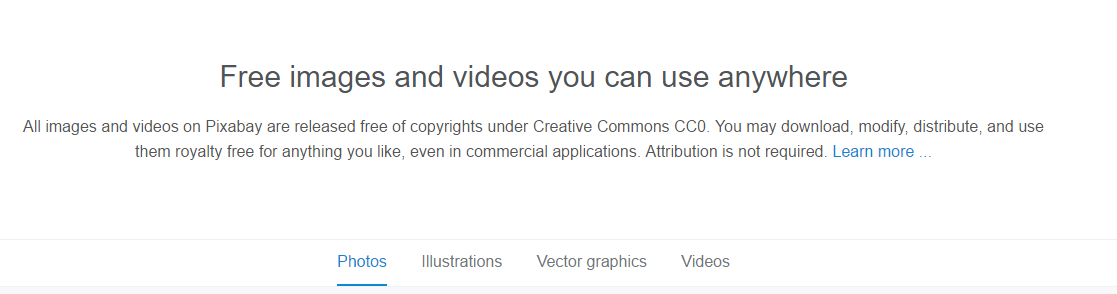
- Pixabay
- StockSnap.io
- Unsplash
- Visual Hunt
- Picjumbo
- LifeofPix
- SplitShire
- Negative Space
- Creative Commons Licence on Flickr
- Reusable Images on Google’s repository
Despite the fact that they are free, you might be asked to credit the photographer or digital artist who creates the image. So read the instructions carefully and check if any attribution is required, so not to infringe anybody’s copyright.
2. Paying for images
If you are looking for professionally taken/created images, or if you need a high number of them, you might have to consider a paid stock images service instead. There are many online companies offering great options for you, such as:
- Fotolia
- iStock
- Getty Images
- Shutterstock
- Dreamstime

- DepositPhotos
- BigStock
- Corbis Image
- 123RF
On these websites, you will find high-resolution images. You can either pay for those you need or buy a subscription if you think you will need to have access to new options regularly.
3. Creating your own images
If you already have something to start with, such as your own pictures, you can try to use one of the online and offline tools and software available to make the necessary adjustments, so they look more professional:
Hey, before you read on - we have in various FREE in-depth guides on similar topics that you can download. For this post, check out:
FREE workbook: CREATE AWESOME BLOG POSTSFREE Beginner's Guide: START A BLOG
- GIMP
- Canva
- PicMonkey
- Visme
- Fotojet
- Snappa

All the options above are very intuitive and come with several features free of charge.
YOUR INSTRUCTIONS
Using the best images that you can find is just the first step. Now you have to know how to make the most of them. And it will depend on your goal, target audience and format that you will be creating. For example:
Tip # 1- Tutorials require screenshots
Tutorials, how-tos, and step-by-step guides require detailed images showing the process that you will be taking your reader through. So make sure that they will do the job. If you are using screenshots, try Jing or FooCapture to make it come true.
Tip #2 – Check your image size
Check how your image will fit on your chosen platform before publishing it. You might need to resize or crop it, for example.
Remember that what works for one doesn’t necessarily works everywhere so you might need to adjust your image to each one of the platforms – for instance, don’t just upload the same file on your blog and Twitter, it might not look well in one of them (or both). Also, test how they look like on mobile devices.
Tip 3 # – Make your images as light as possible
Your image size is also very important. You should have in mind that not everybody will have the same high-end computer that you have nor the same fast broadband connection. So treat your blog well, make your visitors a favour and keep your images as light as possible.
Tip #4 – Understand the purpose of each file format
There are several file formats to save your images, and most of them work well on any website or blog. But they have their own particularities, and you should be aware of them:
- JPG or JPEG: the most used format for digital images is perfect for small-sized photos or graphics. The downside is that smaller is its size, worst is the file’s quality.
- GIF: the best format to create memes and other animated images, but you will need to know how to generate and organize a series of frames to do it.
- PNG: it retains the image quality, transparency, and other essential characteristics. This is a great option for when you need an image as a starting point to create something else.
- TIF: the favourite of professional photographers and designers, it stores high-pixel intensity, quality, and anything else you might need to make the most of your image.
- BMP: a great option for printed images, it retains the rich colors and the quality of your images.
Tip #5 – If using filters, do it consistently
If you decide to use a filter so to make your images more interesting, think about it for a while and pick just one of them. Too many shades and different brightness levels will just make your visitors confused or even give them a headache. On the other hand, if you keep it consistent, your filter will help them to recognize your brand throughout all your online channels.
Final Tip (and the most important one) – Make it relevant 
There is no point in spending money and time on images that aren’t relevant to your audience. Beauty isn’t reason enough to upload a photo if it doesn’t bring you a meaningful message. Think about the image as a book cover: it can make you look at the book but not to buy it.
Except if your blog or social media network is image-based, it is your content that is more important. Your images are there to drive attention and to add value by giving you an extra resource. So put their role into perspective and use them wisely. This way they will help you to increase your traffic and to engage your visitors in a much more efficient way.
Join our free Email Course to learn how to start your social media marketing journey:
All the basics in 4 Days, 4 Emails