Is your blog really ready for SEO? Sure, you are running WordPress – but did you install all the stuff you need for SEO? All the plugins, online tools, and site upgrades?
If you are new to SEO, probably not!
And that is really a shame! Because no blog can strive without at least a rudimentary SEO approach. Why? Because search engines are the only traffic source on the web that are going to send you constant traffic – even without you doing anything. But for that, you need to do some SEO first.
But don’t despair – here comes your guide to getting your WordPress based site SEO ready.
Before you read on - we have various resources that show you exactly how to use social networks to gain massive traffic and leads. For instance, check out the following:
FREE Step-by-Step Twitter Marketing GuideFREE Pinterest Marketing Ebook
In this article, I will explain everything you need to be prepared to start with SEO. This is mandatory! You will not be performing active SEO without doing most of these steps first.
What is SEO?
Search engine optimization, or SEO, is the craft of optimizing your website so that it will receive the most traffic from search engines in general and Google in particular (as Google almost has a monopoly on that market).
Optimizing your site for search traffic is possible because search engines work through algorithms examining the relationships between websites and the keywords on your pages. The relationships are represented in the form of links.
The high amount of websites on the web today (regarding any topic) means that search engine providers need to rank pages by quality to be able to show the best results to the people searching – and you can optimize your content for the algorithms mentioned above.
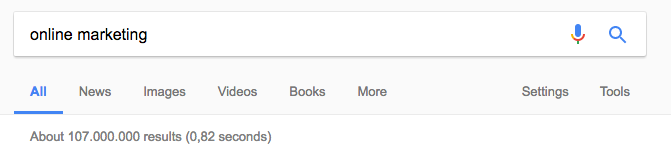
It is not uncommon for Google to have to deal with millions of results for a single keyword
This means that SEO works primarily by:
- Finding the keywords that are most searched for or at least keywords that have a lot of traffic (in your niche/topic) and identify those keywords that you can compete for.
- Building links on other websites to your pages.
- Optimizing your site so that it shows Google that your user experience is good, your sites loads fast, and you have good content on your site.
Installing your blog
By now, you should already have a blog (what do you want to get SEO ready otherwise?), but if you don’t, install one now.
 You might be able to get it installed in a subfolder of your existing website installation – if not, you might have to book new webspace for your blog.
It is not really possible to give detailed step-by-step instructions because the process highly varies depending on your setup. Some people have their static website or shop running on WordPress, which makes integrating their WordPress blog as easy as changing a few settings in WordPress.
Other people have a complete webshop in a different CMS – they need to install WordPress in a subfolder and set it up. Again others choose to run their blog on different webspace and implement it through a subdomain. In this case, you can often rely on One-Click-Installers doing all the work for you.
Hey, before you read on - we have in various FREE in-depth guides on similar topics that you can download. For this post, check out:
FREE workbook: CREATE AWESOME BLOG POSTSFREE Beginner's Guide: START A BLOG
If you need to implement your blog into your existing website setup the easiest way to get help is the support team of whichever hosting system you use. What you need to tell them is that you need to integrate a WordPress blog and need some help in doing so.
One key element of running a blog that is SEO ready is to use a good hosting provider that is both fast and reliable. Stay away from “all inclusive” providers like Bluehost – they are both unreliable and have bad customer support.

Cloudways allows a truly simple setup of a blog in minutes.
We’ve had good experiences with Cloudways – which is the provider we use and recommend. It is a cloud hosting provider – see here for a review, tutorial on how to set it up and a $15 bonus code.
(If you want to migrate an existing blog Cloudways that is also easier than you might think: See here for a description of our experience!)
Important WordPress Settings
A fresh installation of WordPress usually has post URLs set to use a date and a post number. This is far from ideal for SEO as one way for Google to determine keywords for your articles is to use the post URL.
Here is how to fix this and get your URLs SEO ready in case you haven’t already:
- In WordPress go to Settings -> Permalinks
- Select “Post Name” and “Save Changes.”

The post name setting is the most SEO friendly permalink setting in WordPress
Installing and Setting up Google Analytics
Making your blog SEO ready also means that you need to be able to monitor your traffic and SEO data. Google Analytics and Google Search Console are free tools provided by Google.
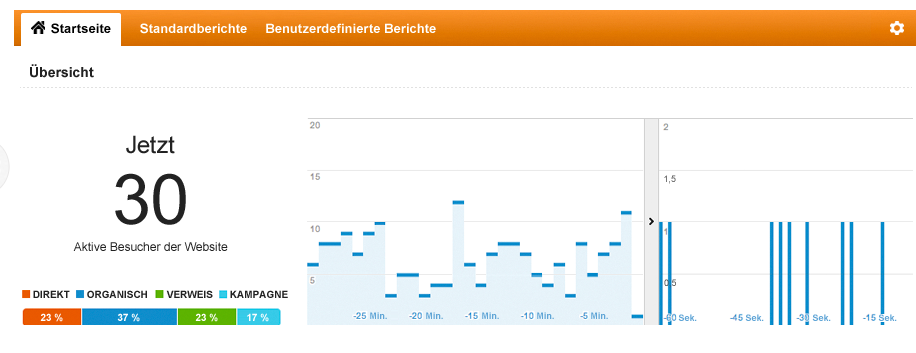
Google Analytics will allow you to analyze your web traffic
Google Analytics is a free web traffic monitoring tool which is relatively easy to get into and allows very advanced tracking of metrics. You should have this set up anyway – if you haven’t, do so now:
Sign up for Google Analytics for free here. If you already have a Google account (for instance for Gmail), you can use that to sign in. Otherwise, you will have to create one first.
Once you signed in, on the next screen you will need to click “Sign Up” again, then on the next screen make sure to select “Website” and not “Mobile App.”
Now it is time to create your property in Google Analytics: You will be presented with a form for:
- Account Name
- Website Name
- Website URL
- Industry
- Time Zone
Fill in your information and click on “Get Tracking ID.” Agree to the Terms (Don’t worry: Google Analytics is free).
Google Analytics will now show you your Tracking ID, which has a form similar to:
UA-xxxxxxxxx-1
Now, it is time to Install a free Google Analytics plugin in WordPress. In your WordPress Installation go to: Plugins -> Add New.
Into the search box write “MonsterInsights” and press return. Go ahead and install the free version of MonsterInsights and activate it. MonsterInsights is one of the most popular Google Analytics plugins for WordPress.
In WordPress you can now go to Insights -> Settings. There, click on Authenticate your Google account and connect your Google account with Monster Insights. On the next screen you will need to click “Get Google Code,” then “Allow,” and then paste the code back to the original window.
The final step is to select the corresponding web property that you set up before. Once you’ve done this, you are set.
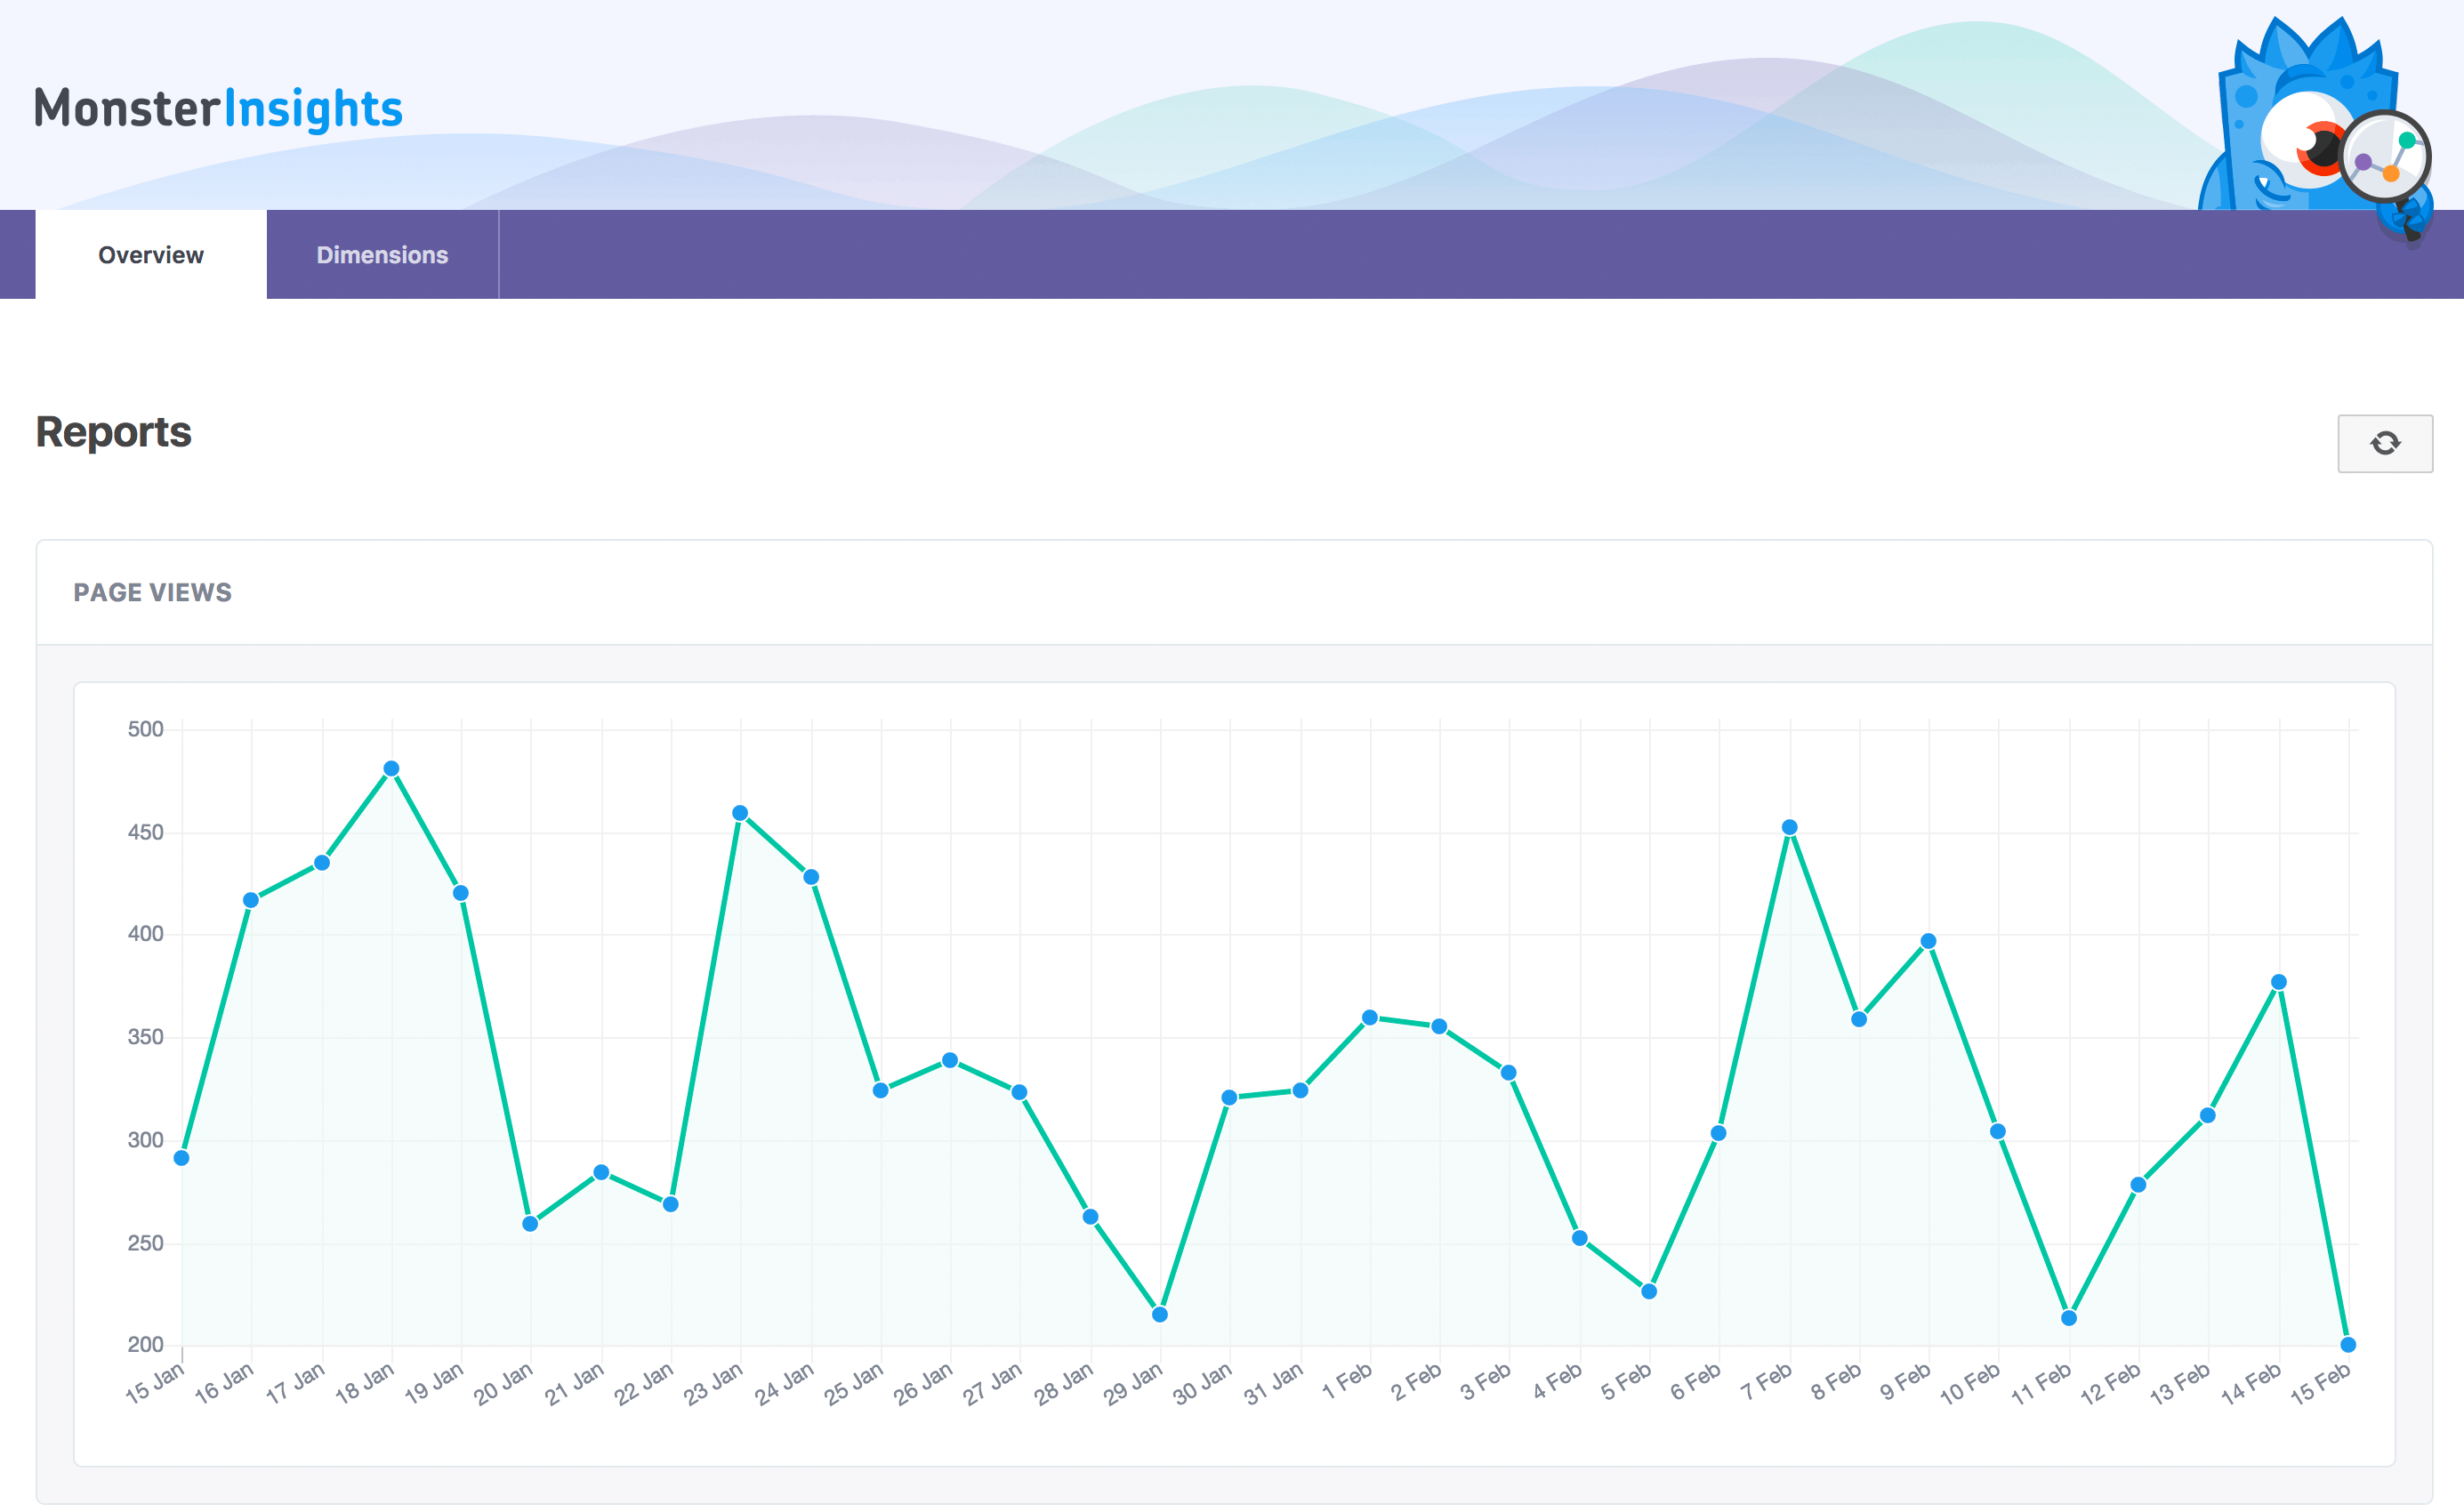
Monsterinsights will allow you to see data right from your WordPress admin panel
MonsterInsights allows you to see some statistics right from your WordPress dashboard, but to see whether everything is running correctly, open Google Analytics own dashboard and go to “Realtime.” If it shows no current visitors, open your website in a new browser tab and see whether your visit is shown. You should see yourself visiting your site.
Setting up Google Search Console
Why wouldn’t you use the data you can get for free to improve your SEO? Google Search console is a tool provided by Google that allows you to see various data points about your search performance: Keywords, search impressions, clicks, manual action taken by Google against your site, … It also allows you to take certain actions like reindexing parts of your site. It’s mandatory for a “SEO ready website”
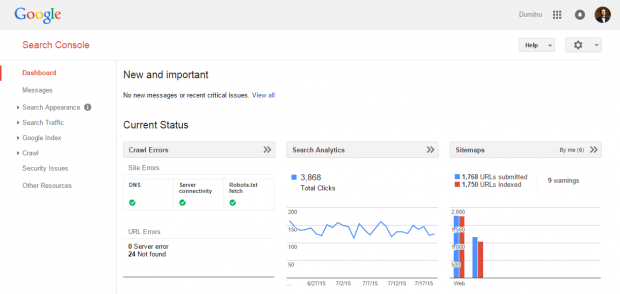
Search console provides SEO data directly from Google – Image Source: Hermes Themes
You already have a Google account – make sure you are signed into it.
Now go to Search Console.
You will have to enter your URL and then in the next step verify your ownership of the URL. This can be done by using your Google Analytics account – while being logged into your Google account that you used for Google Analytics registration:
- Select Google Analytics Verification.
- Click “Verify.”
Done.
Connecting Google Analytics and Search Console
To really be ready for doing SEO, you need to have all data easily accessible and put information from these tools into perspective.
It often comes in handy to have Search Console Data integrated into Google Analytics, and this is an easy step to take:
- In Search Console, click on the wheel in the top right, then select “Google Analytics Property.”
- Select the Analytics Property to link to.
You can now see some Search Console Data under Acquisition -> Search Console, although it can take a couple of hours until it appears.
Install the Yoast SEO Plugin
The Yoast SEO plugin is an awesome and very popular WordPress plugin that, among other things, will allow you to optimize your articles. Also: it is a requirement for the AMP plugins required for the next step. So, to make your blog SEO ready, you really need it!
To install, simply go to Plugins -> Add New in your WordPress installation, search for Yoast, install, and activate the plugin.
After that, your WordPress installation has a new section: SEO. Click on it, and follow a few instructions to finalize your setup of Yoast (Connect Yoast to your Search Console, submit a sitemap to Google).
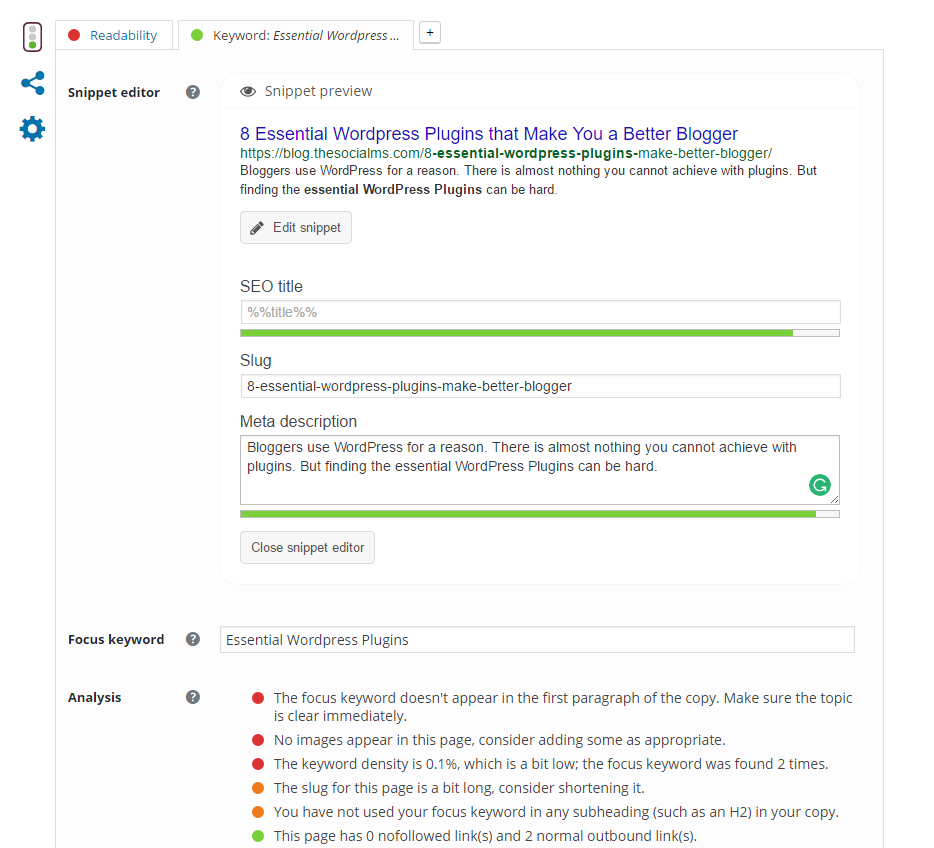
Once you’ve gone through these steps, Yoast will allow you to optimize each new post for a focus keyword by letting you enter the focus keyword into the Yoast panel below the post. It then gives you recommendations on how to optimize the post as well as a traffic light system showing you how well optimized the post already is.
Yoast is also a prerequisite for the installation of AMP plugins below.
Setup AMP Versions of Your Posts
This step to making a WordPress blog SEO ready is important and relatively new – Google has come up with its first mobile search index at the beginning of 2017. If you want primetime search engine appearance for your pages on mobile devices, you will now have to implement the AMP framework.
AMP stands for Accelerated Mobile Pages. The AMP framework is a set of guidelines and tools to offer a stripped-down version of every piece of content on your WordPress blog. Basically, every article and piece of content will get its own stripped-down version for Google’s mobile index. When you have this implemented, you qualify for prime real estate on Google’s mobile search result pages.
Basically, the idea of AMP is to provide a stripped-down version of your content that loads instantly in mobile browsers without using too much data.
Here is how to prepare your site for this through the use of 2 plugins:
First, install this WordPress plugin (you can again search it in your WordPress plugins section and install from there, just as you can do with all plugins in this article). Activate it.
Now you already have AMP posts versions activated which you can view via the following URL types:
YourDomain.com/POST-TITLE/amp
But until now you aren’t able to change anything design-wise on these stripped-down mobile versions. This can be fixed by installing and activating this second plugin – Yoast SEO AMP Glue.
In the settings for this plugin, you can change the colors and upload a Logo.
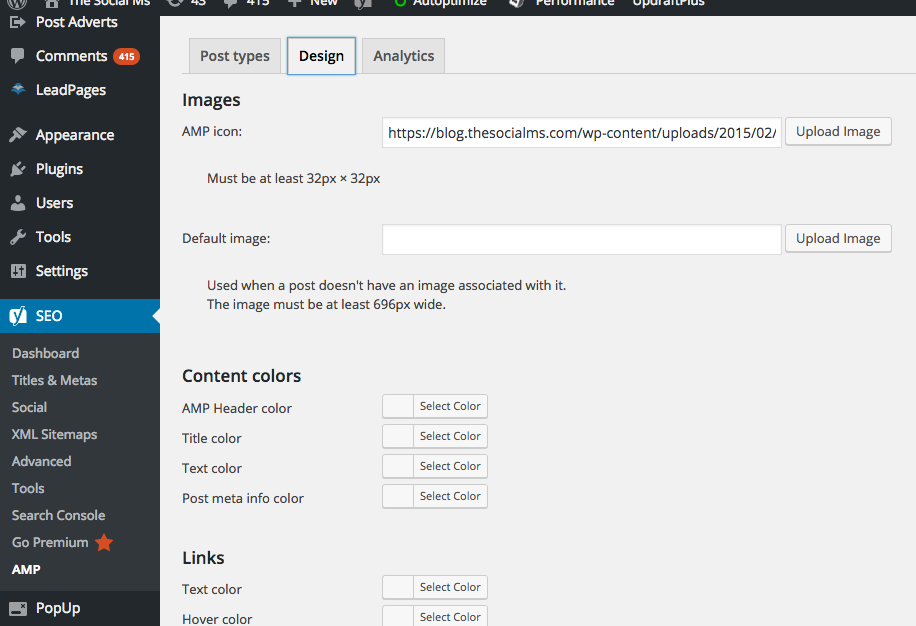
AMP plugin settings
You can and should now also activate Google Analytics Tracking in the Yoast SEO AMP Glue plugin:
Now, go to SEO -> AMP. Set the colors to match your site colors, upload a logo if you want. The final step is to enter a tracking code into the AMP plugin so that Google Analytics will be able to see traffic on AMP pages as well. Here is the tracking code:
<amp-analytics type=”googleanalytics” id=”analytics1″>
<script type=”application/json”>
“vars”:
“account”: “UA-xxxxxxxxx-x”
},
”triggers”:
“trackPageview”:
“on”: “visible”,
“request”: “pageview”
}
}
}
</script>
</amp-analytics>
The term “UA-xxxxxxxxx-x” is your Google Analytics tracking ID and needs to be replaced with your own tracking ID which can be obtained by opening Analytics and going to Admin -> Property Settings.
Copy and paste the code above into the according field when you open SEO -> AMP -> Analytics.
Optimizing Site Speed
We haven’t touched upon an important part of making a WordPress website SEO ready, yet: Page load times.
 Why it is important that your blog loads fast

When you browse the web looking for information, site speed matters. This holds true for any website: There is a huge difference between a site loading in 3 seconds and a site that takes 10 seconds to load, or 15, or 30.
The reason for that is that most people don’t just open 1 page a day but hundreds of pages or even 1000s. And these seconds are lost on every page load: Compare sites that take 3 seconds to load and a page that takes 10 seconds to load:
100 pageviews on one site are 300 seconds – which equals 5 minutes lost waiting. On the other page, it’s 1000 seconds, which equals almost 12 minutes more!
That may not seem like a lot – but these are 12 minutes lost waiting. This can easily lead to people losing more than an hour per day waiting for pages to load. How would you feel about web pages that take up hours of your day for waiting for it to load? Right, you wouldn’t like it.
The technical term for this is “User Experience” – long page load times, just like bad design, lead to a bad user experience.
User experience is extremely important for many aspects of running a website or a blog – but today it is all about SEO, so why are we explaining this here?
The reason is that Google and all other search engine operators are not just focused on letting the user know where they can find information, they are also extremely focused on user experience. They want their own users (the people searching for information) to have a good user experience with the information they provided – so they will rank pages with a good user experience (i.e. short page load times) higher up in their search results.
What are good page load times?
There is a general rule of thumb that everything taking longer than 3 seconds is not a good page load time and should be improved. However, this is not a number set in stone, and sometimes it’s impossible to reach.
There are also different perceptions: A user may experience a page to load very fast while in reality, it continues to load in the background. For instance, a long blog article may appear on the screen of a web visitor almost instantly – allowing him to begin reading – while the browser is still pulling resources, text, and images for the content further down the page, that are not necessary to load at once.
So if you take the number from above (3 seconds), you should see it as the number when the user can start using your page – not the number when he can read everything on the page.
GTMetrix
GTMetrix is a free online tool that allows you to analyze your website’s page load times. GTMetrix is a tremendous help in finding issues that limit your page load times.
Here are the results of GTMetrix for our blog at blog.thesocialms.com.
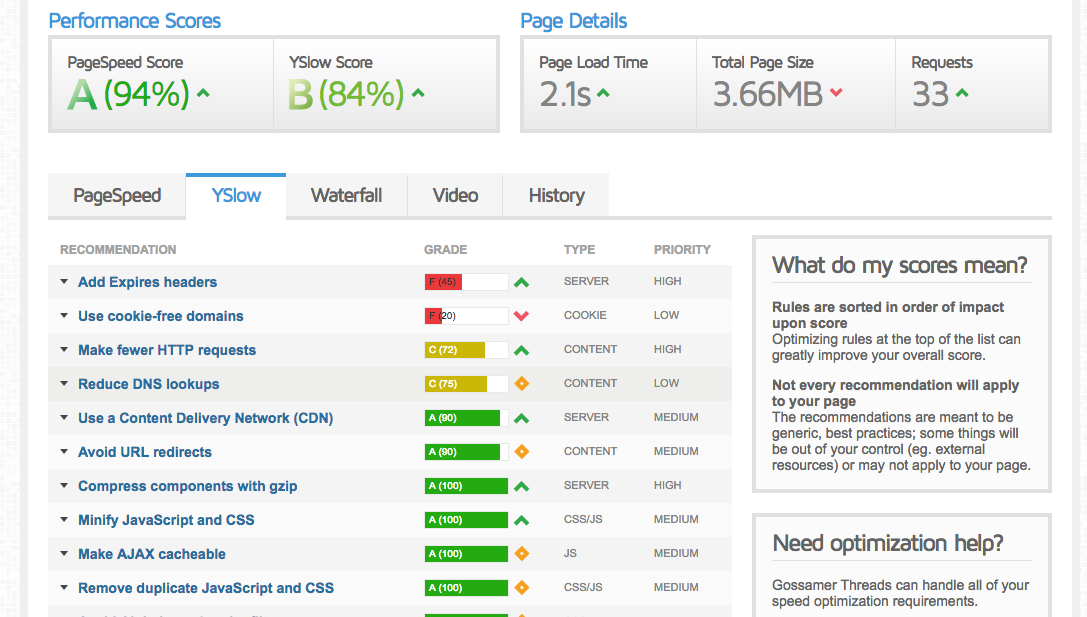
GTMetrix allows you to find optimization potential in your site.
Granted, these could be improved a little (not that much in reality). However, here is an overview of GTMetrix shows me that helps me optimizing my site:
- Performance Scores: GTMetrix analyzes my site using two different scoring systems – PageSpeed and YSlow. PageSpeed focuses more on actual loading times than YSlow, hence the difference in scores for our blog.
- Total Page Load Times, Size of complete page (this shouldn’t be as high as 4 MB – I need to add more image compressions to our site), and number of requests.
- A tabbed view for in-depth analysis data. This gives you graded and prioritized data about certain aspects of the PageSpeed and YSlow score, a waterfall view (what was loaded at what point in time) – and registered users get a few more features that are not that important.
Every element will give you more information when you hover your cursor over it.
The scores are great to get a general rating, the analysis is great to optimize your website issue-by-issue.
We will return to GTMetrix further down below – but for now, it is time to implement some caching layers on your blog to make it load faster.
What Is Caching?
When we are talking about caching and website load times, here is what we are talking about:
Caching means that parts of your website (dynamic such as search results or static like text or images) are stored in the memory of a computer for faster load times. This computer can be your webserver, a different webserver of the webvisitors computer.
There are various ways of employing caching for your WordPress website, and we are only going to go into detail for two of them.
Mandatory Caching Layer #1: Cloudflare
Cloudflare is a CDN (content delivery network) which means it will take your website and store all static parts of your website on their servers around the world. And it comes with a free, basic version – which means I regard it as mandatory for any SEO ready website!
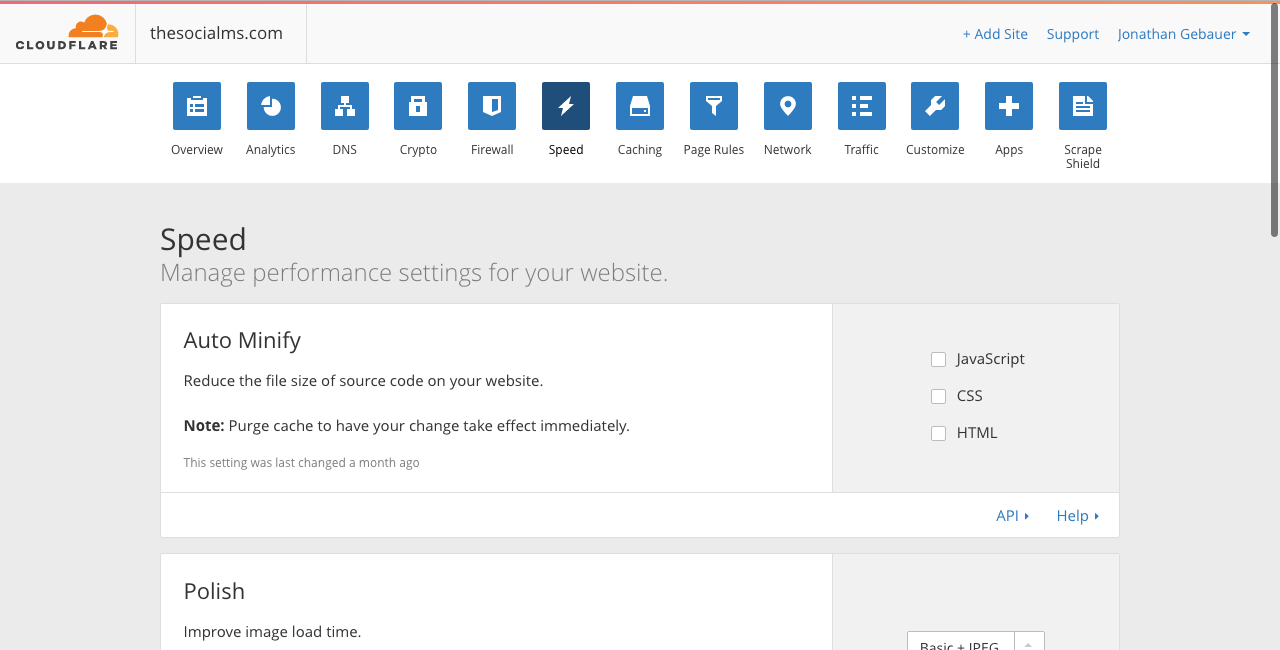
Cloudflare may be the fastest and easiest way to speed up your web page.
Now, when a web visitor comes to your site, your content is served from the server closest to them.
Cloudflare is not the only CDN in the world – so if you already have one, you can skip this part.
However, CloudFlare is free (for the basic version), easy to set up, and comes with a few additional benefits like a firewall, a feature to speed up image loading and Javascript, …
Some of these features are paid features, but the free CDN alone makes CloudFlare very valuable.
How to Setup CloudFlare on a WordPress Blog (in a nutshell)
Here is how to setup a CloudFlare account and the service. To do this, you should have a general understanding of what DNS records are – if you don’t, then contact the person that set this up for you or the support of your web host you are using. The problem here is that if you do this wrong, you might take your website offline – and have no idea what you did wrong.
CloudFlare works by swapping out your DNS records to DNS records of their own servers, which will in turn point to your site. Cloudflare can then being caching resources on their own servers.
Below are just basics – if you know what DNS records are, this will be a piece of cake, if you don’t, someone will need to look over your shoulder.
- Signup for a free account on CloudFlare.com
- Enter your data and your website during setup.
- Cloudflare will let you select which domains and DNS record you want to parse through Cloudflare.
- Once you’ve signed up for the free account, you can now swap your own DNS records to Cloudflare and activate the service.
Once it is running and your website loads, you will begin to see performance increases on your page. Keep in mind that it may take a bit of time to see the full speed improvement.
Mandatory Caching Layer #2: W3 Total Cache
W3 Total Cache is a WordPress plugin and provides an advanced caching engine for WordPress.
What does that mean (apart from making it mandatory for being “SEO ready”)?
W3 Total Cache provides a couple of things:
- An on-site caching layer that saves dynamic content in the server’s cache.
- Integration with various other caching layers (such as the above mentioned CloudFlare).
- An easy way to set up various caching setting (for instance how long resources should be cached in browsers).
W3 Total Cache is a tremendous caching engine for WordPress and according to most experts, the best that is available. However, due to it embedding itself deep into the WordPress stack, there can be incompatibilities with a few sites. This should only happen if you do not use W3 Total Cache right from the start and even if you install it later on, you should still not run into problems, however, if you do, there is an alternative, a WordPress plugin called WP Super Cache.
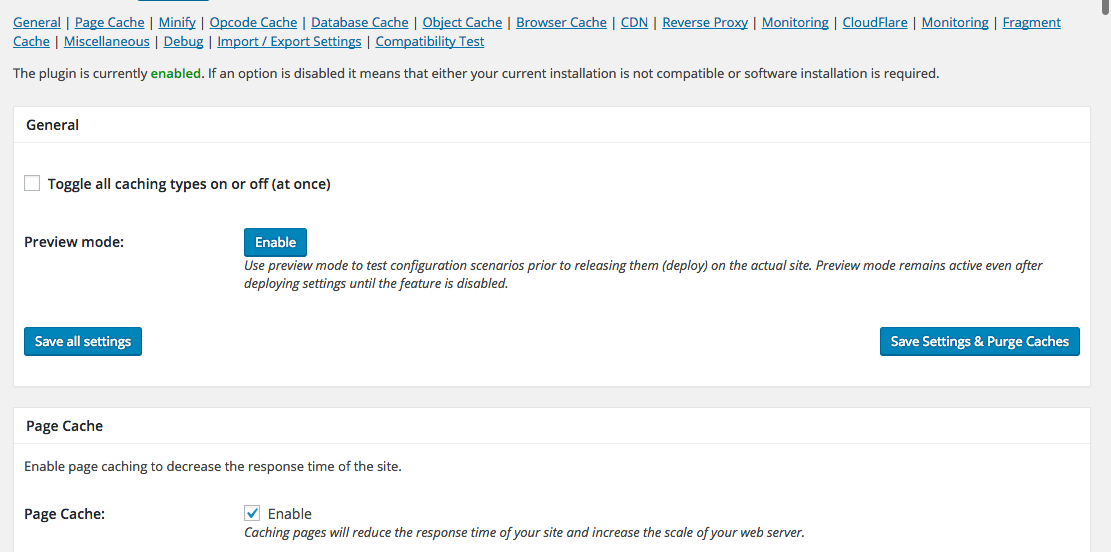
W3 Total Cache is a great caching plugin for WordPress.
How to Setup W3 Total Cache
Installing is again very easy: Search, install and activate through the Admin Panel of your WordPress installation.
Once installed, there are a plethora of settings to go through – more than it makes sense to go through now. Instead, there are a plethora of posts on the web dealing with these settings.
As of writing, this is the most in-depth and up-to-date guide to W3 Total Cache Settings.
Additional Caching Layers
There are further caching layers that can be used by installation on servers. Not all of these are allowed on all hosting services, and you will have to see whether your host supports a specific layer before you can implement it.
Here are the 2 most important caching layers that can be installed on some servers:
- Memcached: Memcached caches objects that are in a computer’s memory. For websites, this is of interest when databases are regularly used to retrieve data. This is the case on all dynamic websites including blogs.
- Varnish: Varnish Cache is a web application accelerator also known as a caching HTTP reverse proxy. You install it in front of any server that speaks HTTP and configures it to cache the contents.
Again, if you want the easiest way to implement all of these caching layers, I cannot recommend Cloudways as a blog host enough. When you set up a WordPress blog on Cloudways, your blog will automatically be set up with W3TotalCache, Memcached, and Varnish – and setting up CloudFlare is a breeze! These additional caching layers might not be required for an SEO ready website – but they sure as hell speed it up.
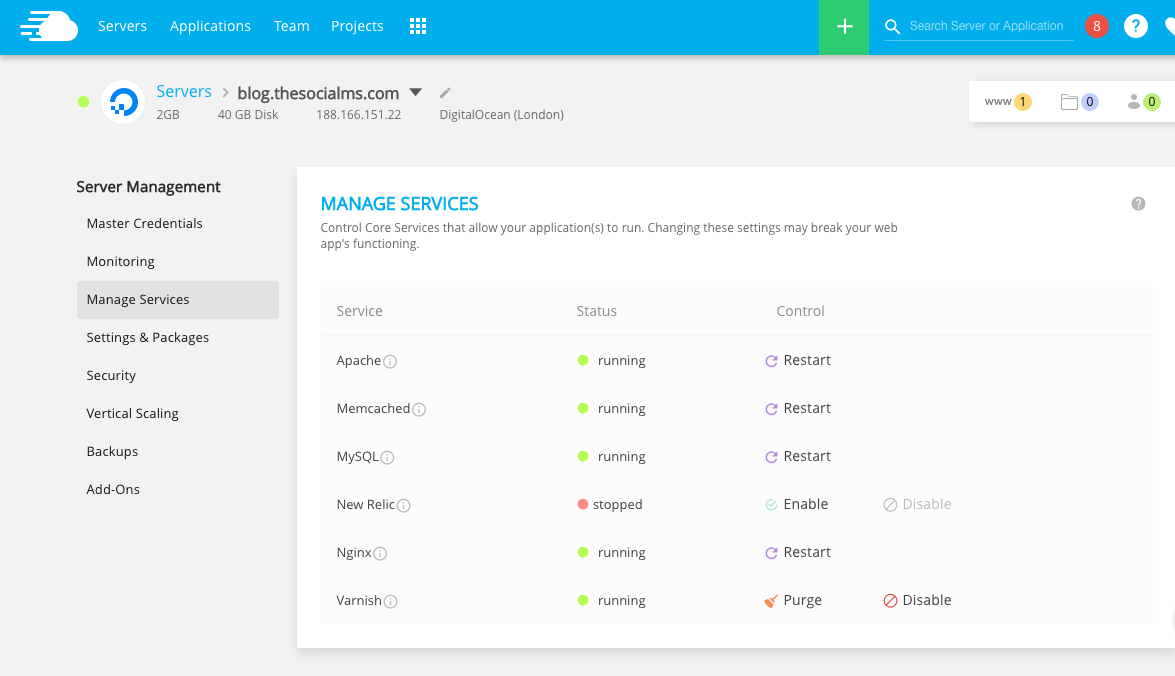
Cloudways allows activation of advanced on server caching with the press of a button.
Using GTMetrix to Increase PageSpeed
If you ran GTMetrix before and after the implementation of caching, you would already see a huge improvement.
Now it is time to see whether you need further adjustments. For that, load your page into GTMetrix and see what you get. If you have a score higher than 90 in both ratings, you are basically in a great position, and if you open your page normally in your browser, you should get great results.
If you don’t, start by examining every entry in the page score overviews in GTMetrix that has a high priority and a low grade. If you don’t understand the actual explanation, Google it – this is not a website optimization course, and it would break the format if I began to list every possibility here.
However, some problems may not be fixable with reasonable work, some may be low priority, and some may be an easy fix and have big results.
Final Words
Congratulations – your blog now is ready to start doing some SEO. But, you are not done – SEO from now on to the foreseeable future will become a daily process for you. You will need to research keywords, build links, optimize existing posts, …
For some of the most important SEO strategies see this article.
For a description of what SEO is and how to do it, see here.
3 Hacks that can help you improve your rankings and the traffic from Google search.
Are you struggling with your SEO? Do you think you have done so much but somehow your blog traffic from Google search is stagnating? Do you need some help with setting up your blog for SEO? Are you not sure how to build links to your blog?
We have got you covered!
We created a free email course about SEO for your blog – or SEO with a blog. Join today for 4 days and 4 emails and learn about on-page SEO, Google Ranking factors, link building tactics and how to find keywords even you can rank for. Join our (free) email course about Blog SEO today!