Whether you are a blogger looking to monetize, a small business looking to grow or a big corporation looking to expand – chances are you need a modern sales funnel.
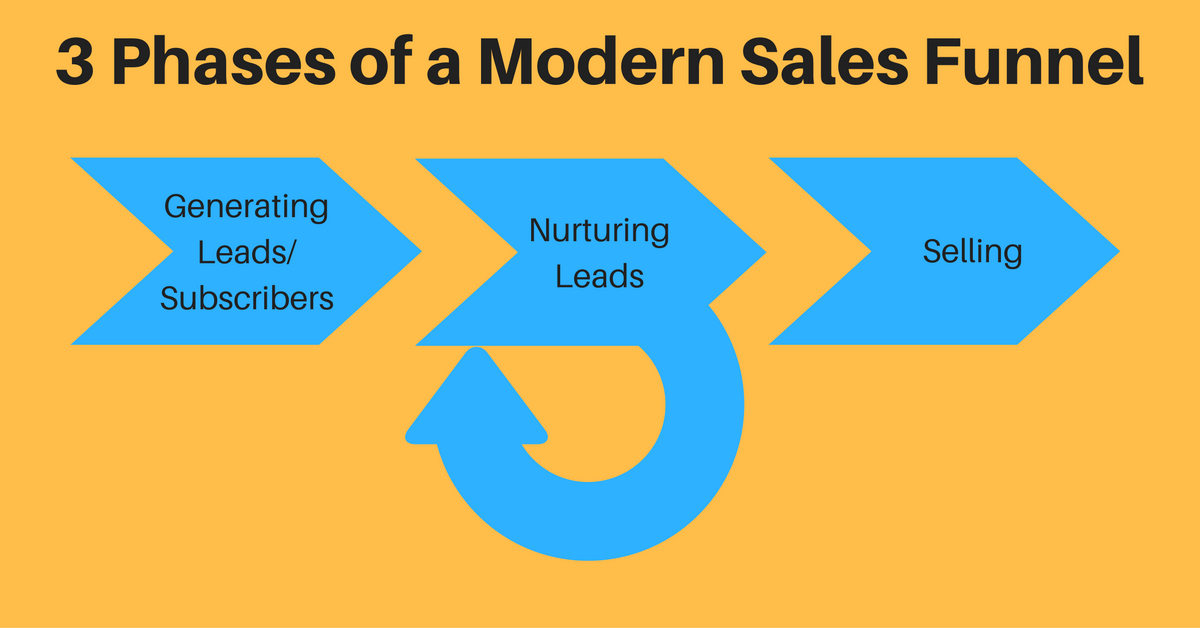
A modern sales funnel doesn’t just present a product to a potential client. A modern sales funnel consists of three basic elements: Getting a subscriber (getting the attention of a potential client), nurturing a subscriber to generate trust and need, and presenting a subscriber a solution for his problem(s) that he/she will pay for.
A modern sales funnel for online businesses has a few key elements that I’m going to talk about in this article, hopefully making you understand how each of them work – and how they work and flow together.
The key tools and elements we are going to use today are lead generation tools, email marketing and automation and landing and sales pages.
Before you read on - we have various resources that show you exactly how to use social networks to gain massive traffic and leads. For instance, check out the following:
FREE Step-by-Step Twitter Marketing GuideFREE Pinterest Marketing Ebook
Sounds complicated? It’s not as complicated as you might think – but you need to break it down into its key elements and understand each of them.
“The money is NOT in the list.”
- No Successful Online Marketer Ever
The Tools I Use
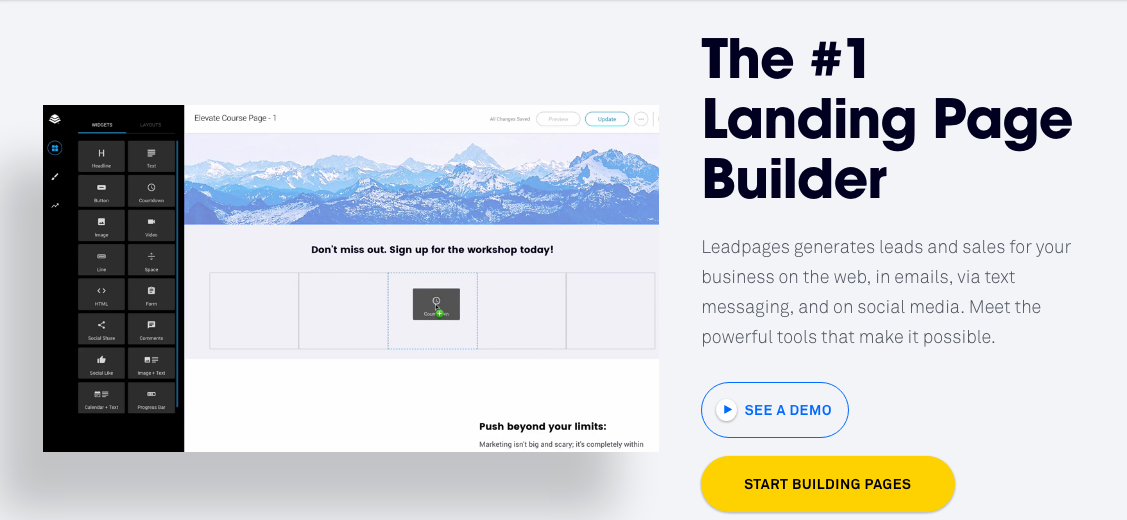
Here at The Social Ms we use Leadpages for Landing Pages and popups (Leadboxes), and Drip for email marketing and marketing automation.
Leadpages allows us to easily setup various different Landing Pages and even supports features like AB testing.
Drip is simply put the most awesome email marketing and marketing automation tool available. If you want to find out more about Drip, you can read my review of Drip here.
Another valuable tool for our marketing automation processes and lead generation process is HelloBar. It provides some lead generation features that help us generate even more leads.
HelloBar provides Page Takeover features, Popups and more. You might have just seen an example on this site:
Hey, before you read on - we have in various FREE in-depth guides on similar topics that you can download. For this post, check out:
FREE workbook: CREATE AWESOME BLOG POSTSFREE Beginner's Guide: START A BLOG
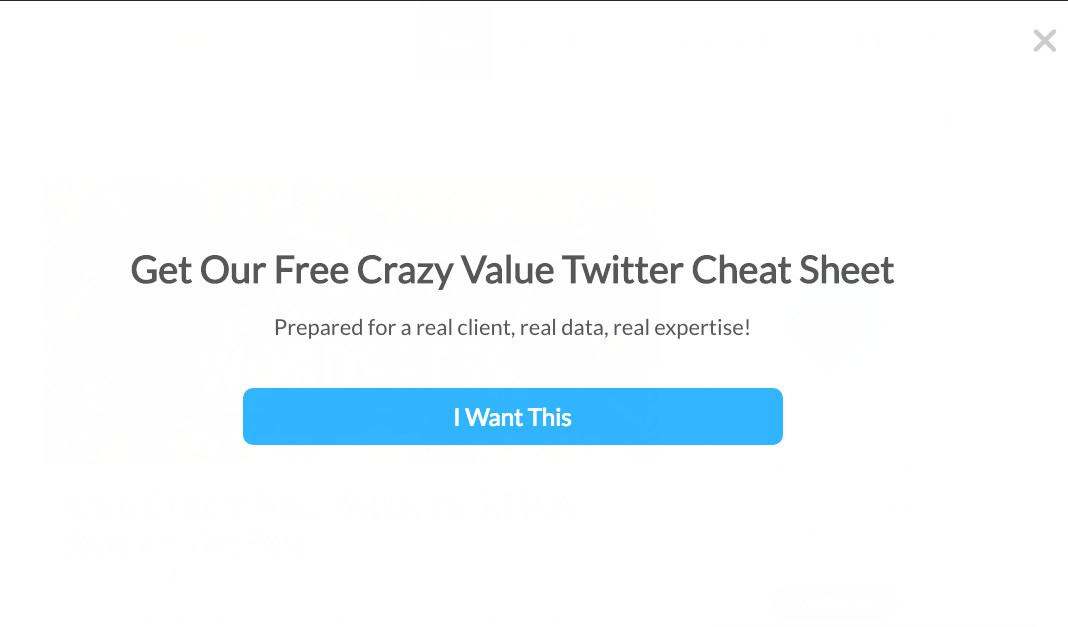
This is our Page Takeover we use at the time of writing. It uses HelloBar, and it performs like crazy for Lead Generation.
If you sign up via this link
HelloBar – One Month Free Premium
you can get the premium version for free for a month (I will get the same).
The Connection: Your Content -> Your Audience -> Your Product
A modern sales funnel works by providing value (most of the time in the form of content) to your target audience and therefore setting them up to finally buy one of your products.
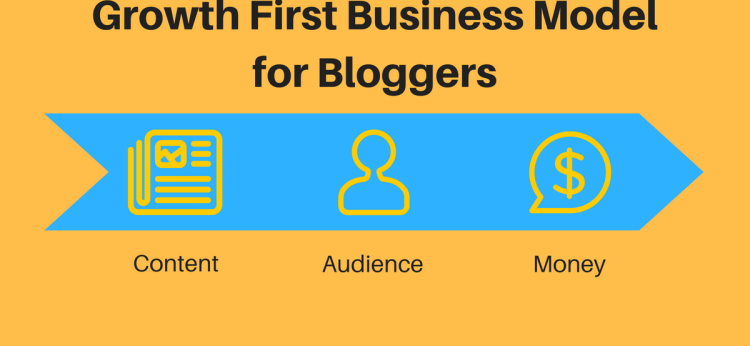
If you are a blogger, you are in an ideal situation for modern sales funnels like this to work at their best. The reason for that is, that you are building your blog by writing content around your niche, by generating traffic and subscribers you are building your audience, and once you have an audience you start creating products targeted at that audience.
In other words: Bloggers work in a typical “Growth first” business model. It’s a natural fit.
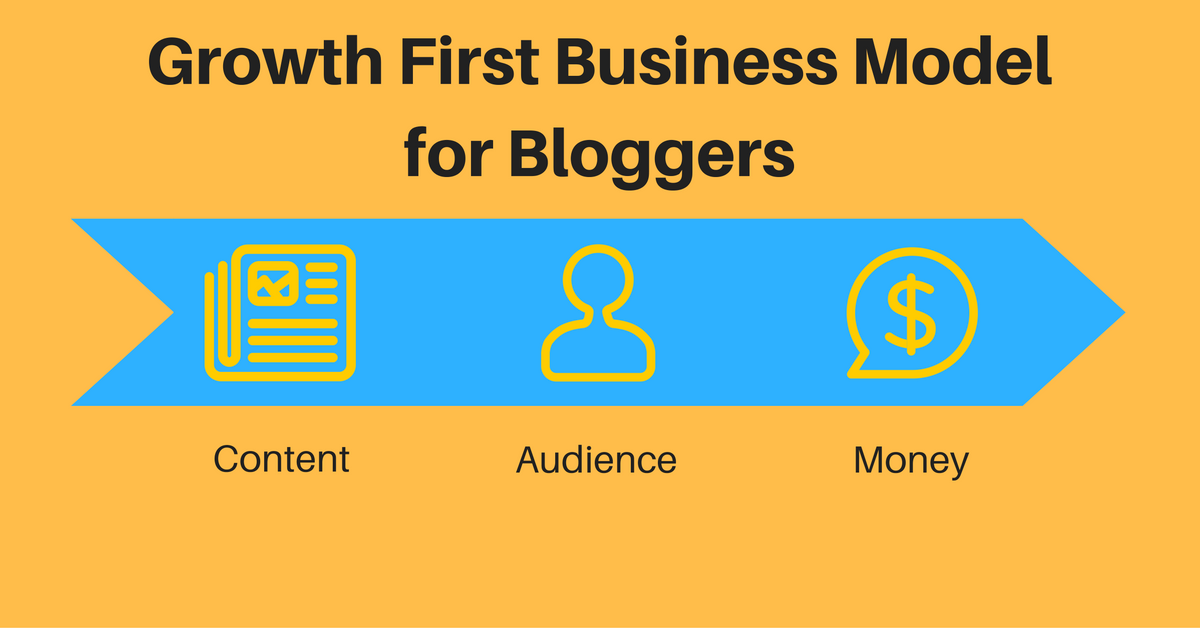
The Growth First Business Model for Bloggers: Build your content around a niche, with that content build your audience within the target audience. Grow, then monetize.
If you already have a product and a business and want to work a modern web sales for for this situation, you are still on the right track – but the situation is slightly more complicated. All you have to do is figure out the ideal audience for product, then figure out the content they would need and start generating your subscribers around the content your audience needs.
 But before we start with generating subscribers, we need to start by talking about landing pages. Because there are different types of landing pages and they become important at different points inside a modern sales funnel.
The 2 Types of Landing Pages Every Marketer Needs
Landing pages are important for every business that is even remotely online. Exclamation mark! If you are reading this, then you probably need them – and no, there isn’t any sensible way around this.
Why?
Because landing pages are where modern marketing magic starts.
A landing page is a single webpage (not a complete site, just a page) that is optimized to generating a particular action from a web visitor. This action can, for instance, be a purchase of a product – or a simple signup for an email list.
And there are at least 2 different landing pages every business should have and needs. One is a squeeze page, and the other one is a sales page.
The sales page is easy to understand: It’s where your product is presented and sold.
The squeeze page is slightly harder to grasp. It’s a page that collects email subscribers. I will tell you more about why you need a squeeze page later in this article – but no, there isn’t any way around this! Even if you use other forms of lead generation and subscriber collection – you still need one or more squeeze pages.
Before we dive into the depth of squeeze and sales pages, let’s explain the idea of landing pages by identifying their equivalent in the physical world.
Landing Pages in the Physical World: Storefronts and Highlighted Products
Back in the days when people actually went to shopping malls and physical stores (yes, I know that people still do that today :)), shopowners took pride in their storefronts.
A jewelry store, for instance, will present it’s most shining jewelry in its shopping window (not necessarily the most valuable).
What is the goal of putting shiny products in the window? If your answer is “so sell them,” you are dead wrong!
The real reason for shiny products in the window is (drumroll): To get people to enter the shop! Nobody makes a sale while the customer hasn’t even entered the shop. A shopping window performs best when people walk by the store, notice the shopping window, notice the products on display and then enter the shop.
In the online world, the equivalent is NOT a sales page – the equivalent is the squeeze page: A potential customer will come to your squeeze page, find it interesting and decide to sign up for your email list. One the customer is on your list, he is in your store.
But let’s continue with the traditional shopping experience: What comes next is the behavior inside the store.
Once you enter a store, ideally you are presented with a guided shopping experience – even if you don’t notice it. Items are placed within the store in a specific way – so that you will pass many different items, but once you are interested in a specific item, you will suddenly find more information about this item. Or similar items to compare.
Let’s say you are again in a jewelry store: You might examine a necklace. Suddenly a staff member would appear and politely ask whether he can be of assistance. He will engage in conversation and start finding out more about you: “Ah, so you are searching for a present for your sister? This material actually goes well with darker skin tones – would this color match your sister’s eyes?”, “Oh, maybe you shouldn’t be looking at this necklace then – but I’ve got another one here, it’s slightly more expensive, but the color would be a perfect match!”
And with the perfection of a trained marksman, this staff member will guide you to buy a product – a product you will be satisfied with.
That’s what a well-designed sales page does.
Understanding the Process of Gaining Subscribers
Remember the shopping window?
A shopping window isn’t for people who already know your store, know what they want or know they need advice. It’s for people who pass by the store, glance at the window and may then enter the store. Or remember the store and return later. Or will tell their friends about this amazing shopping window they saw.
And that is what a shopping window is optimized for!
Now, when you have a website, you have several ways of getting people to your site and once they do – these people pass your shopping window.
An excellent shopping window is not just a window – it has products that are highlighted (“Wow, this necklace looks great!”), it leaves some questions open (“This dress looks amazing, but I need to try it on to find out if it suits me.”) and it guides you towards entering the store.
These highlights on a website should be your squeeze pages. To be entirely fair here, there are also other forms to create signups – and you probably just saw some of them on this website: Popups, page takeovers and such.
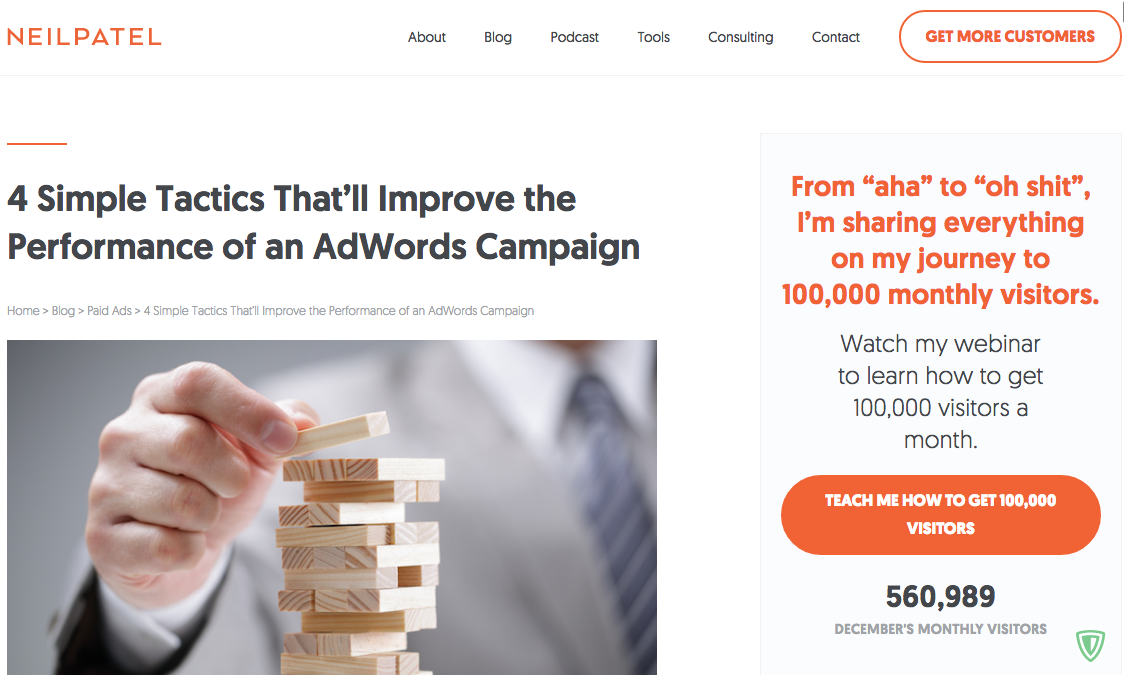
A webinar can also make a very convincing sign up bribe – as shown here by Neil Patel
In a way, we regard every single page of our website as a squeeze page: Every page has elements that are implemented to make potential customers perform a signup.
However, we also have several dedicated squeeze pages, and we wouldn’t manage without them! Pure squeeze pages have several advantages over just providing signup forms somewhere on your site. A squeeze page is a full page optimized for one thing: Performing a signup to your email list. You can also drive traffic to your squeeze page directly – for instance through advertising or sharing it on social media. You can guide web visitors to squeeze pages via email (yes, it does make sense to guide them to squeeze pages again more on that later), link to them from guest posts you wrote somewhere else on the web, …
And once a visitor performs a desired action on a squeeze page, he is on your list. He enters your store.
And: You make him enter your store, again and again, every time he opens one of your emails.
Make a Compelling FREE Offer Worth the Visitors Attention – Provide Something in Return!
One thing to note about getting visitors to subscribe to your email list is: You should not expect them to do this for free!
No, you don’t need to pay them money. But you need to pay them with something. That something can be a short ebook you give away for free. It could be a white paper. Or it could be a bonus code – whatever you can produce easily and give away for free.
Without a reward for signing up for free, very few people are going to give you their email address. But with a reward or even multiple rewards, you can get people to sign up for your squeeze page in no time.
One reason for that is that people have become wary of giving away their email addresses, another reason is that we, as human beings, absolutely love free stuff.
It’s one of the advantages of web businesses that we can give away free stuff. An owner of a physical shop often has a hard time giving away free stuff – because it will cost money everytime he or she does it. Web businesses however, can give the same content away for free millions of times and it won’t cost them a dime.
Instructions on How to Set Up Squeeze Pages and Popups with LeadPages to Generate Subscribers
As said before, we use LeadPages for landing pages of any kind. So if you want to follow this post as a tutorial, you need to get an account there.
If you decide to go that route, great, this section is for you. Leadpages offers a sheer endless amount of Landing Pages for about any purpose.
There isn’t enough room in this already massive post to include full step-by-step instructions, but both Leadpages and Drip are pretty easy to understand when you understand the basic principle.
To setup your lead generation squeeze pages and popups within Leadpages, first you have to upload your Leadmagnet – the free piece of content you are going to use as your signup bribe. You can do that by clicking on your account name on the top right (when you are logged in) and selecting “Lead Magnet Delivery”. When you upload your lead magnet you can later activate on the settings of your squeeze page and it will automatically be delivered to every new subscriber who signs up through this squeeze page.
Second, you need to connect your email marketing tool to LeadPages (ideally this would be Drip, but LeadPages almost integrates with every tool available). You can do this in your account settings via “integrations.”
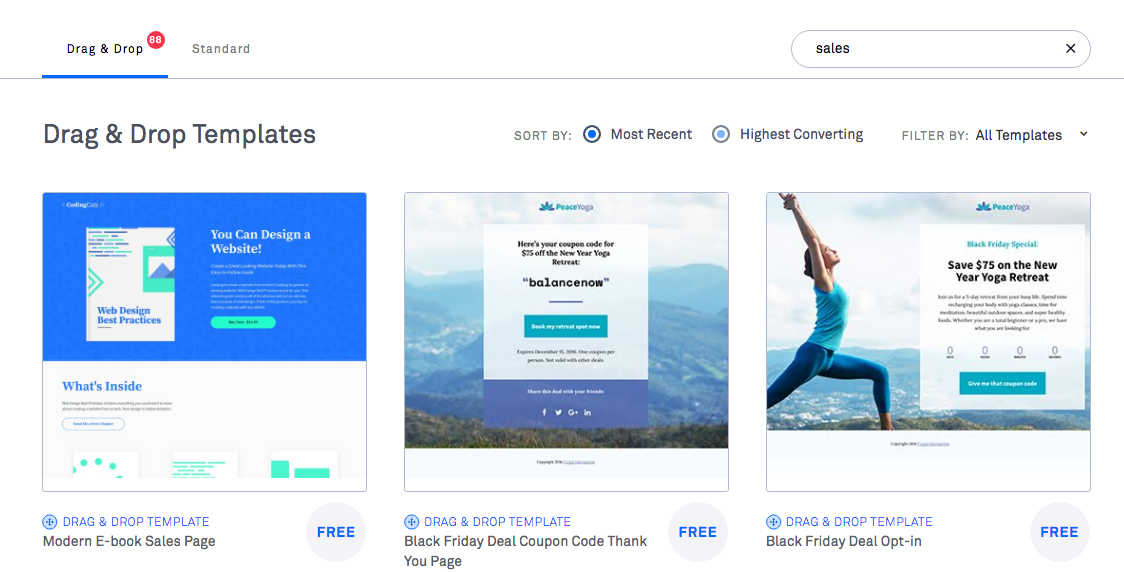
Now it is time to create your LeadPage: Click on Leadpages in the top menu and then on “Create New Page”. Enter “Squeeze” in the search bar to show all templates that are optimized as squeeze pages. I recommend that you only look at the Drag & Drop templates as they are more versatile then the others. Select a template you like.
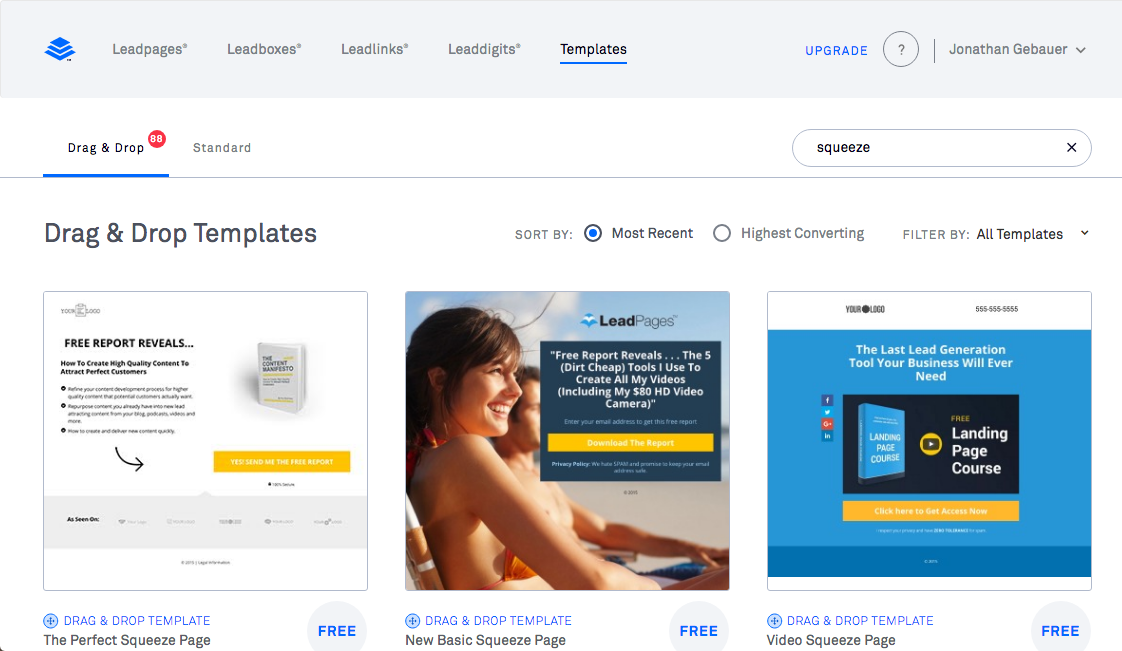
Leadpages offers templates for any type of landing page you might need. You can then change them via drag and drop.
Now, you are in the page designer and can enter your content into the already designed page. Here is what you need to do:
- Activate the subscription form, connect it to your email list (in Drip or anywhere else)
- Activate Lead Magnet delivery
- Change all text on the squeeze page
- Change all text on the leadbox that opens when you click on the signup link.
As a design principle for squeeze pages follow these guidelines:
- Everything should fit on a regular computer screen – scrolling should only be necessary on mobile devices.
- Call-to-action buttons should be clearly visible, have a bold color and look inviting.
- Benefits of an action should be clearly visible.
- Text should be big and short.
Done, you’ve got your first squeeze page. You can either use it directly from the LeadPages domain or integrate it into your website (follow the instructions that you get when you press “Publish” – for WordPress you can download a plugin that makes things easier).
Popups can be created, designed and integrated exactly like LeadPages: Simply click on “LeadBoxes” within on the main app menu within LeadPages (Popups are called “LeadBoxes” in LeadPages). Again, there is a plugin for WordPress that makes integration easier.
Nurturing Your Subscribers
Ok, now you know the elements of a web page that will turn a web visitor into a subscriber. He/she is on your email list.
What do you do with these email addresses? Of course, you are going to send them emails… what else.
But you are not going to send these subscribers hundreds of endless emails promoting your products. What you are doing instead is you are sending them emails with value!
What is value? Whatever your subscribers need. You are generating subscribers around a certain niche – a category you build your content around. The value you send to subscribers can be based on content on your blog. Or you can send them quick tips based on their interests.
A good way of nurturing your subscribers is to use a combination of an “onboarding” email sequence and regular “broadcast” emails to every subscriber that has already completed the onboarding sequence.
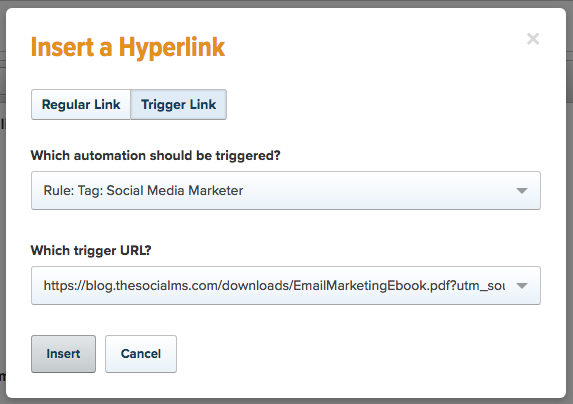
The onboarding email sequence should focus on building a relationship with your new subscriber. You can even ask questions that your subscribers can answer (in Drip you could for instance record answers to multiple choice questions through trigger links in combination with tags).
You can then add in more email automation based on some actions by subscribers. For instance you can add an automation when someone buys a product – we do that by connection Gumroad and Stripe to Drip (which provides an integration for both). This way you can add some emails offering additional products to people who bought your products.
How often should each subscriber receive an email from you? At least once a week. Don’t be afraid of losing subscribers because you are sending to many emails – when you provide real value, the people you want on your list are going to stay! I’ve received newsletter in the past that mailed me multiple times per day and I loved every email.
Once a subscriber has left your initial onboarding sequence, he should start receiving your regular newsletter as well as an automation sequence that emails him every other week. This email automation can be used to push subscribers towards a certain goal – for instance buying one of your products.
Looking complicated yet? Here is how to start this the easy way:
- Write a series of 3 emails every new subscriber gets. Usually, these emails shouldn’t be longer than 300 words. They can link to content on your website, and they should focus on creating a relationship.
- Once a subscriber is through this automation sequence, you can send him your regular emails (broadcasts).
- Create another automation sequence – one that sends an email ever 2 – 4 weeks that pushes a subscriber towards a sales page. Write 3 or even 4 emails for that.
- Now create another automation sequence if you have more products and want to make an upsell. People who bought from you once are far more likely to buy from you again than someone who has never bought from you before.
How to Set Up this Type of Email Marketing Automation in Drip
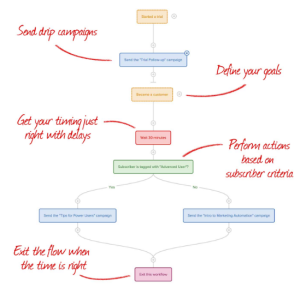
As said before, I use Drip for our marketing automation. And while the above may seem complicated, Drip makes it very easy! Drip uses something they call “Automation Workflows” in their tool which allow you to setup automations like the ones above within a few minutes (minus writing the the emails of course).
The beauty of automation within Drip is that it seems to naturally flow out of your hands. If you need to enter a new piece of automation within your email flow, you can simply add it to the flowchart.
Sales Pages
Just like squeeze pages, sales pages are landing pages optimized on leading a visitor to make a specific action. They are an important part of modern sales funnels. But instead of optimizing for a free action like a signup, sales pages are optimized for making a purchase.
This leads to a different requirement for sales pages. You need to deliver a compelling argument for your new customer to finish the checkout – otherwise, he will never do it.
There is a huge amount of theory around sales pages leading – but if you want to check it out now and read up on everything there is… DON’T! If you start by reading every piece of information on landing pages there is on the web you only set yourself up to confusion.
The important thing there is to know about sales pages is that you need them for your products. You need to be able to set thm up to have a starting point, you need to be able to change elements (both graphics and text) and you need to be able to compare the results.
The tool we use to set up our sales pages is again LeadPages.
Setting up and changing a sales page in LeadPages is exactly the same as setting up a squeeze page.
Never Stop Optimizing
Now that you’ve got your first version of your modern sales funnel set up, you know what is going to happen?
In most cases: Not a lot.
You will probably make a few sales, but conversion rates are going to be low. Why is that?
What you need to understand is that you now have a sales process that needs to continually be optimized. And that you have a sales process, that has many different places that will have a huge impact on your overall results.
Maybe the most important rule of online marketing success is:
Online Success is the accumulation of small but positive results!
This holds true for every part of online marketing – but especially for a sales funnel.
An Example On Optimization:
How does all of this look in practice? Here is an example of how this strategy for a modern sales funnel works:
Let’s say you are seeing around 300-400 visitors to your website a day, which amounts to around 2500 per week. Let’s also assume you are getting 50 signups per week, you have a basic lead nurturing process automated like I described above and you are getting around 4 sales of your $150 product per month. That’s not great, right? So where do you start optimizing?
Let’s dive a little deeper into the numbers first: You are getting a conversion rate of 2% from visitor to subscriber and a conversion rate of again 2% from subscriber to sale.
In this situation, the first thing to optimize is your lead generation (and you probably should also work on generating more traffic on your site as this will increase signups as well).
Why the lead generation processes? Because you don’t have enough signups and if you would be making changes to your sales page or nurturing processes, you would have to wait for a while to be able to measure the results. Also – in this situation it is probably a lot easier to increase the amount of subscribers you get first than increasing the conversion rates of your sales page or funnel.
Things to do first:
- Add more subscription opportunities to your site.
- Create more free content you can offer to visitors – so you can offer different subscriptions.
Read this article to learn about more ways to increase your subscription rates.
Now, let’s say your subscription rates tripled after doing this (6% = 150 new subscribers per week), while your conversion rate to a sale stayed the same (2% = 12 sales per month). Congrats, you are now making $1800 per month – but still not great, right?
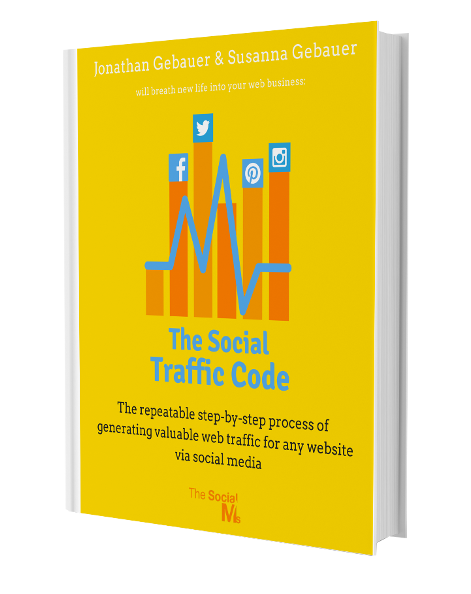
We grew our blog from 0 to 50k visitors per month in less than 6 months. Here is how you can do it, too: “The Social Traffic Code“
My next goal would be to increase the sales by optimizing the automation.
I can probably add more nurturing emails to the initial optimization. I could ask my new subscribers questions, I could write a long email about my personal story, …
This will probably help a little.
Next is AB-Testing on the sales page. AB-testing is a process of implementing small changes on a page and measuring the old variant against the new – in the end keeping the one that performs best.
This will slowly increase your results. The good news is: AB-testing is already built into LeadPages and Drip – so if you are using these tools, you can AB-test your whole funnel.
The point of this example is to show that this is a numbers game.
The key is to always come up with new optimization methods that you can test and implement.
Final Words
There are two big takeaways for you from this post: A modern sales funnel is complicated – but it is doable to implement this for YOU on your own!
Let’s recap the steps:
- Preliminaries: Get a website. Create a signup “bribe”.
- Get the tools: At the very least you need a tool to create landing pages and a tool to handle your email marketing. We recommend LeadPages and Drip.
- Create a signup squeeze page and drive some traffic to it.
- Implement various forms on your site to generate signups.
- Create an automation sequence for new subscribers (3-4 emails).
- Create another automation that sends a sales email every 4 weeks or so (3-4 different emails).
- Start sending broadcast emails regularly to subscribers who left your initial automation sequence.
- Create sales pages for your products.
- Start optimizing.
- Seriously: NEVER STOP OPTIMIZING!
Yes, this is a lot of work. But it can be done. And it is absolutely worth it!
Do you want to start your email marketing? Do you need some help with the basics of list building and newsletter best practices?
Get our free ebook “Email Marketing Recipes” – and get email marketing tips that will help you start your email marketing the better way.

